Hardsploit Prototype soldering begin!

Prepare & program the pick, place the machine with all the components and their location on the Hardsploit PCB board, set up all the parameters… That’s a lot of things to plan !

PickandplacsetupDSCN0011

We begin with the solder past dispensing via the use of stencils and our homemade dispensing desk !

The process consist on :

  • Securely block the PCB on the desk

PCBAttachedwithScitch

  • Cover the PCB with the stencil (precision task)

Stencilput overthePCB

  • Dispense solder paste on PCB through the hole of the stencil

SolderpastedispensingonPCBoverstencilhole

  • Remove the stencil and thus the solder paste is on each pin of each component to solder on the PCB (see the grey paste)

PCBwithSolderPastonit


Time to present our electronics lab

Welcome inside our own private Hackerspace !

OpaleSecurityHackerSpace

Our (modest but efficient) industrial lab is composed of :

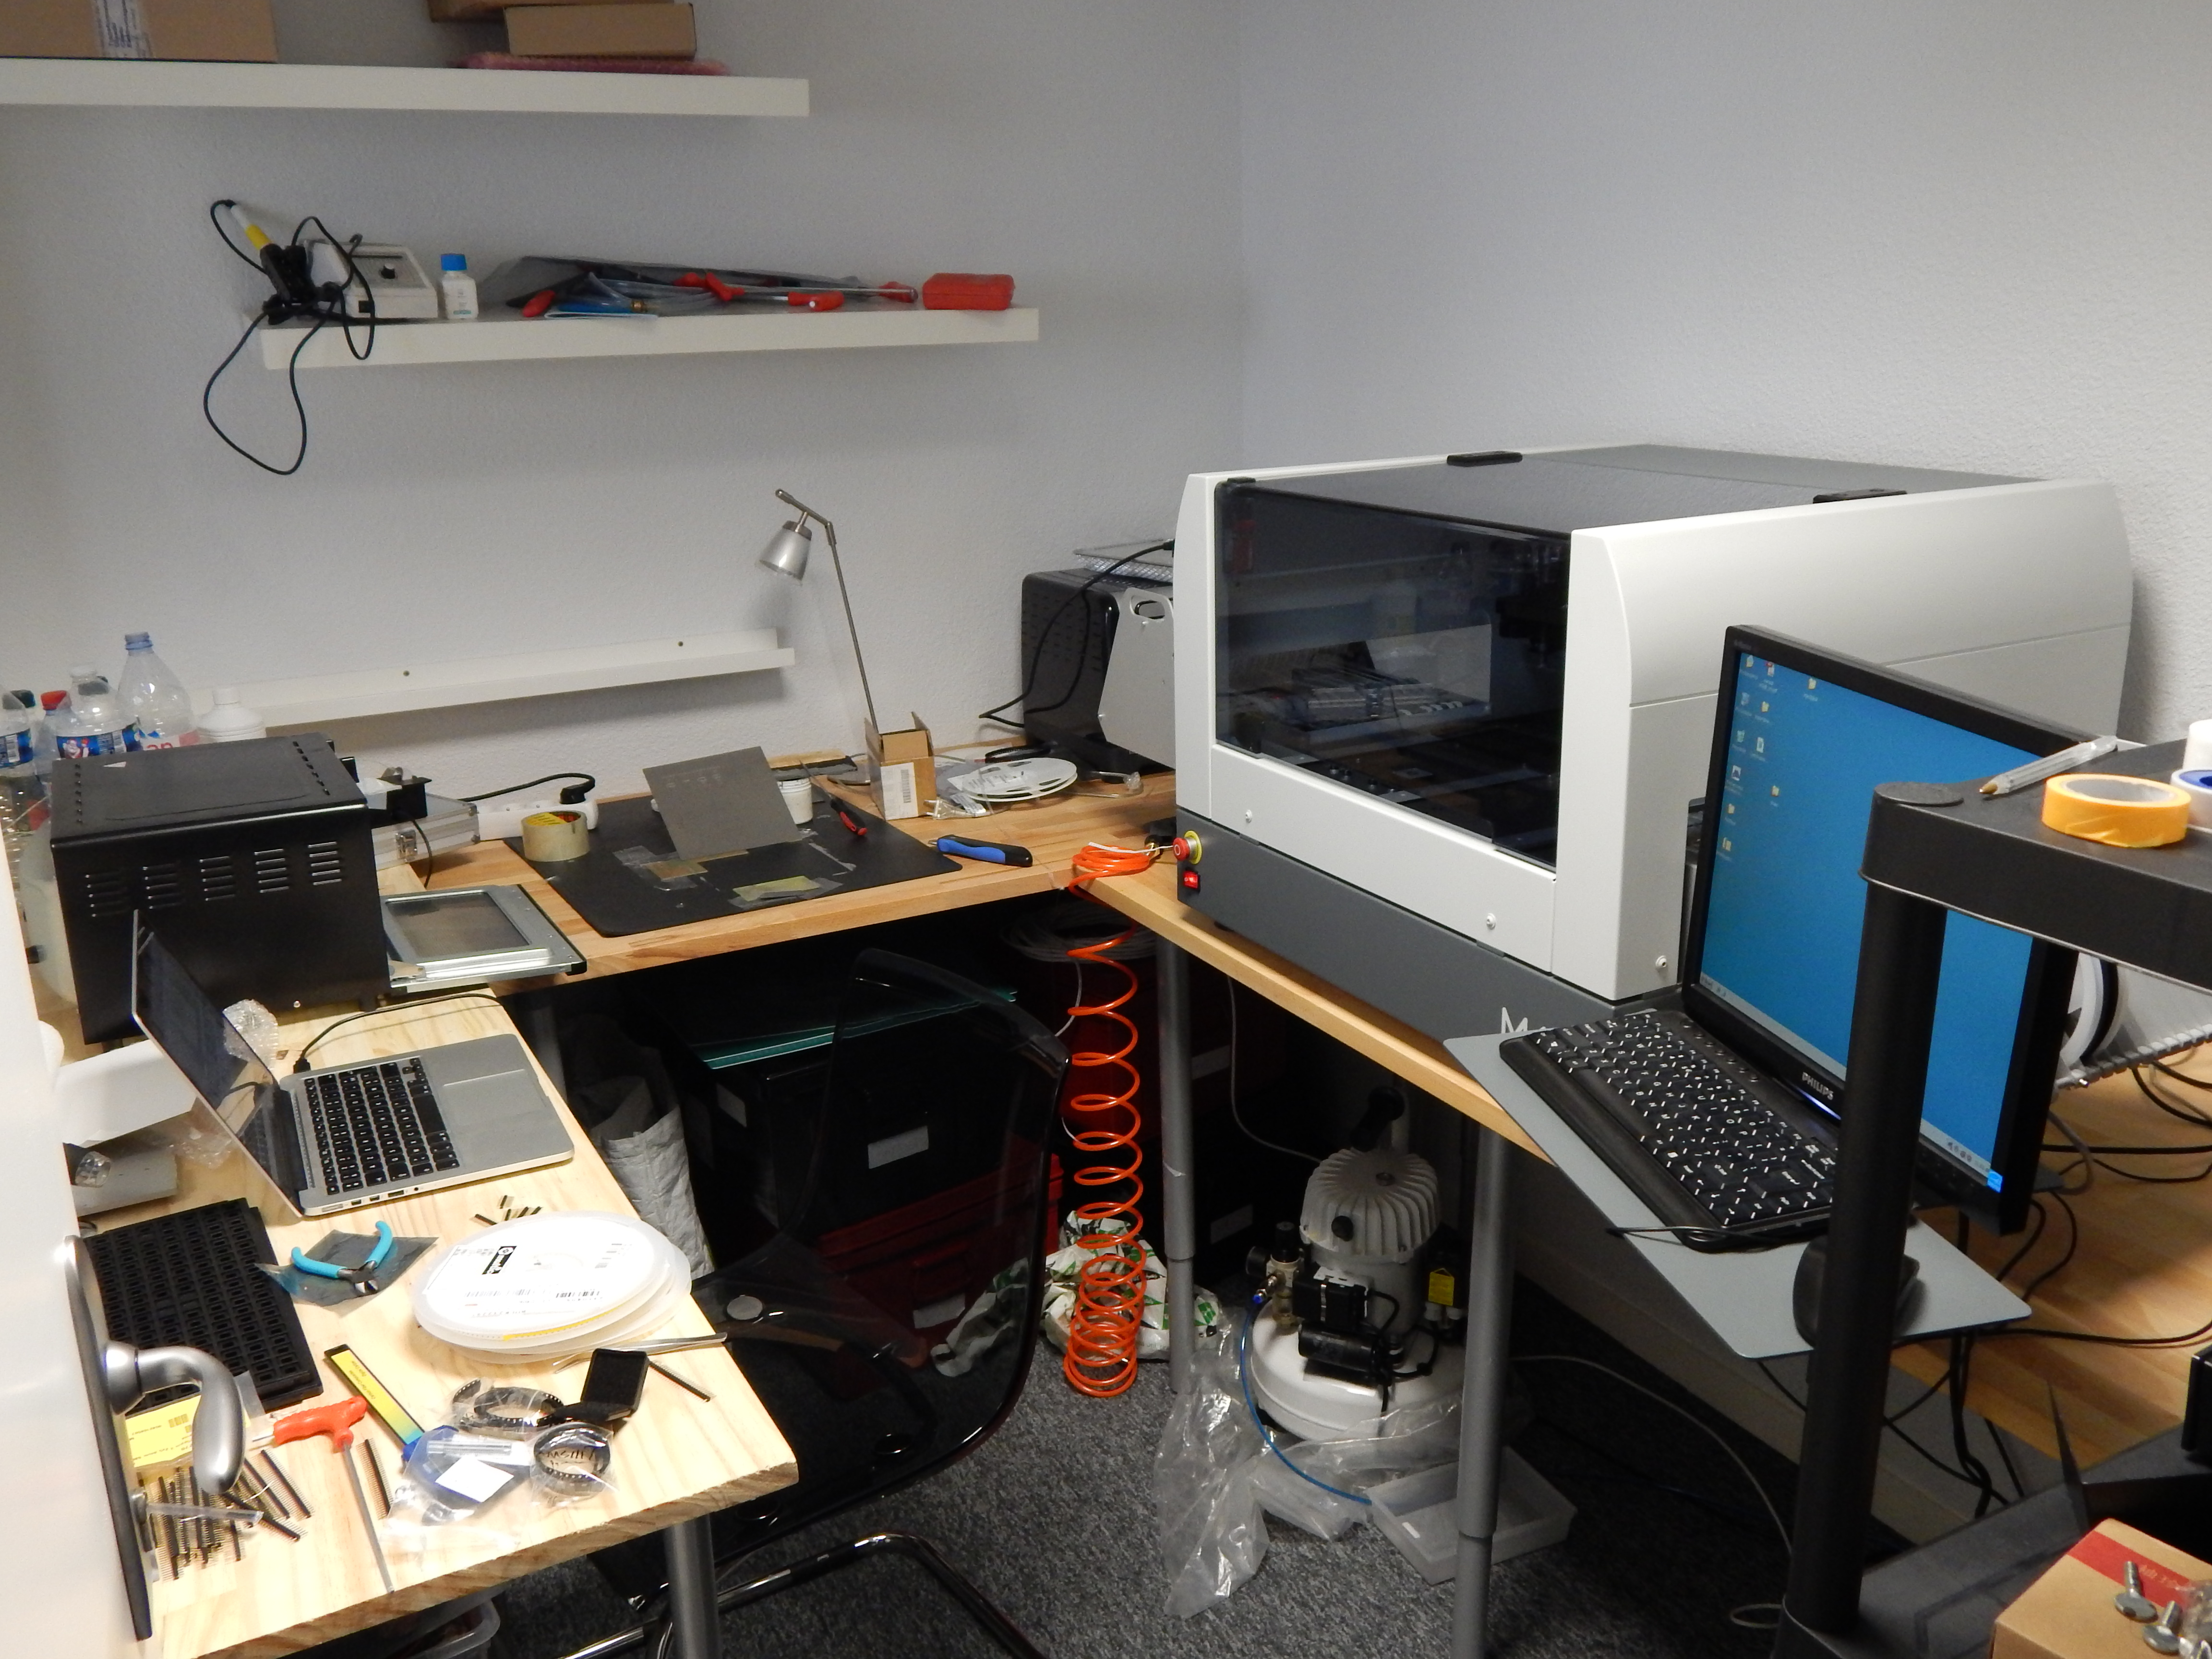
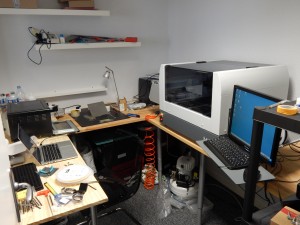
  • Dedicated machines room
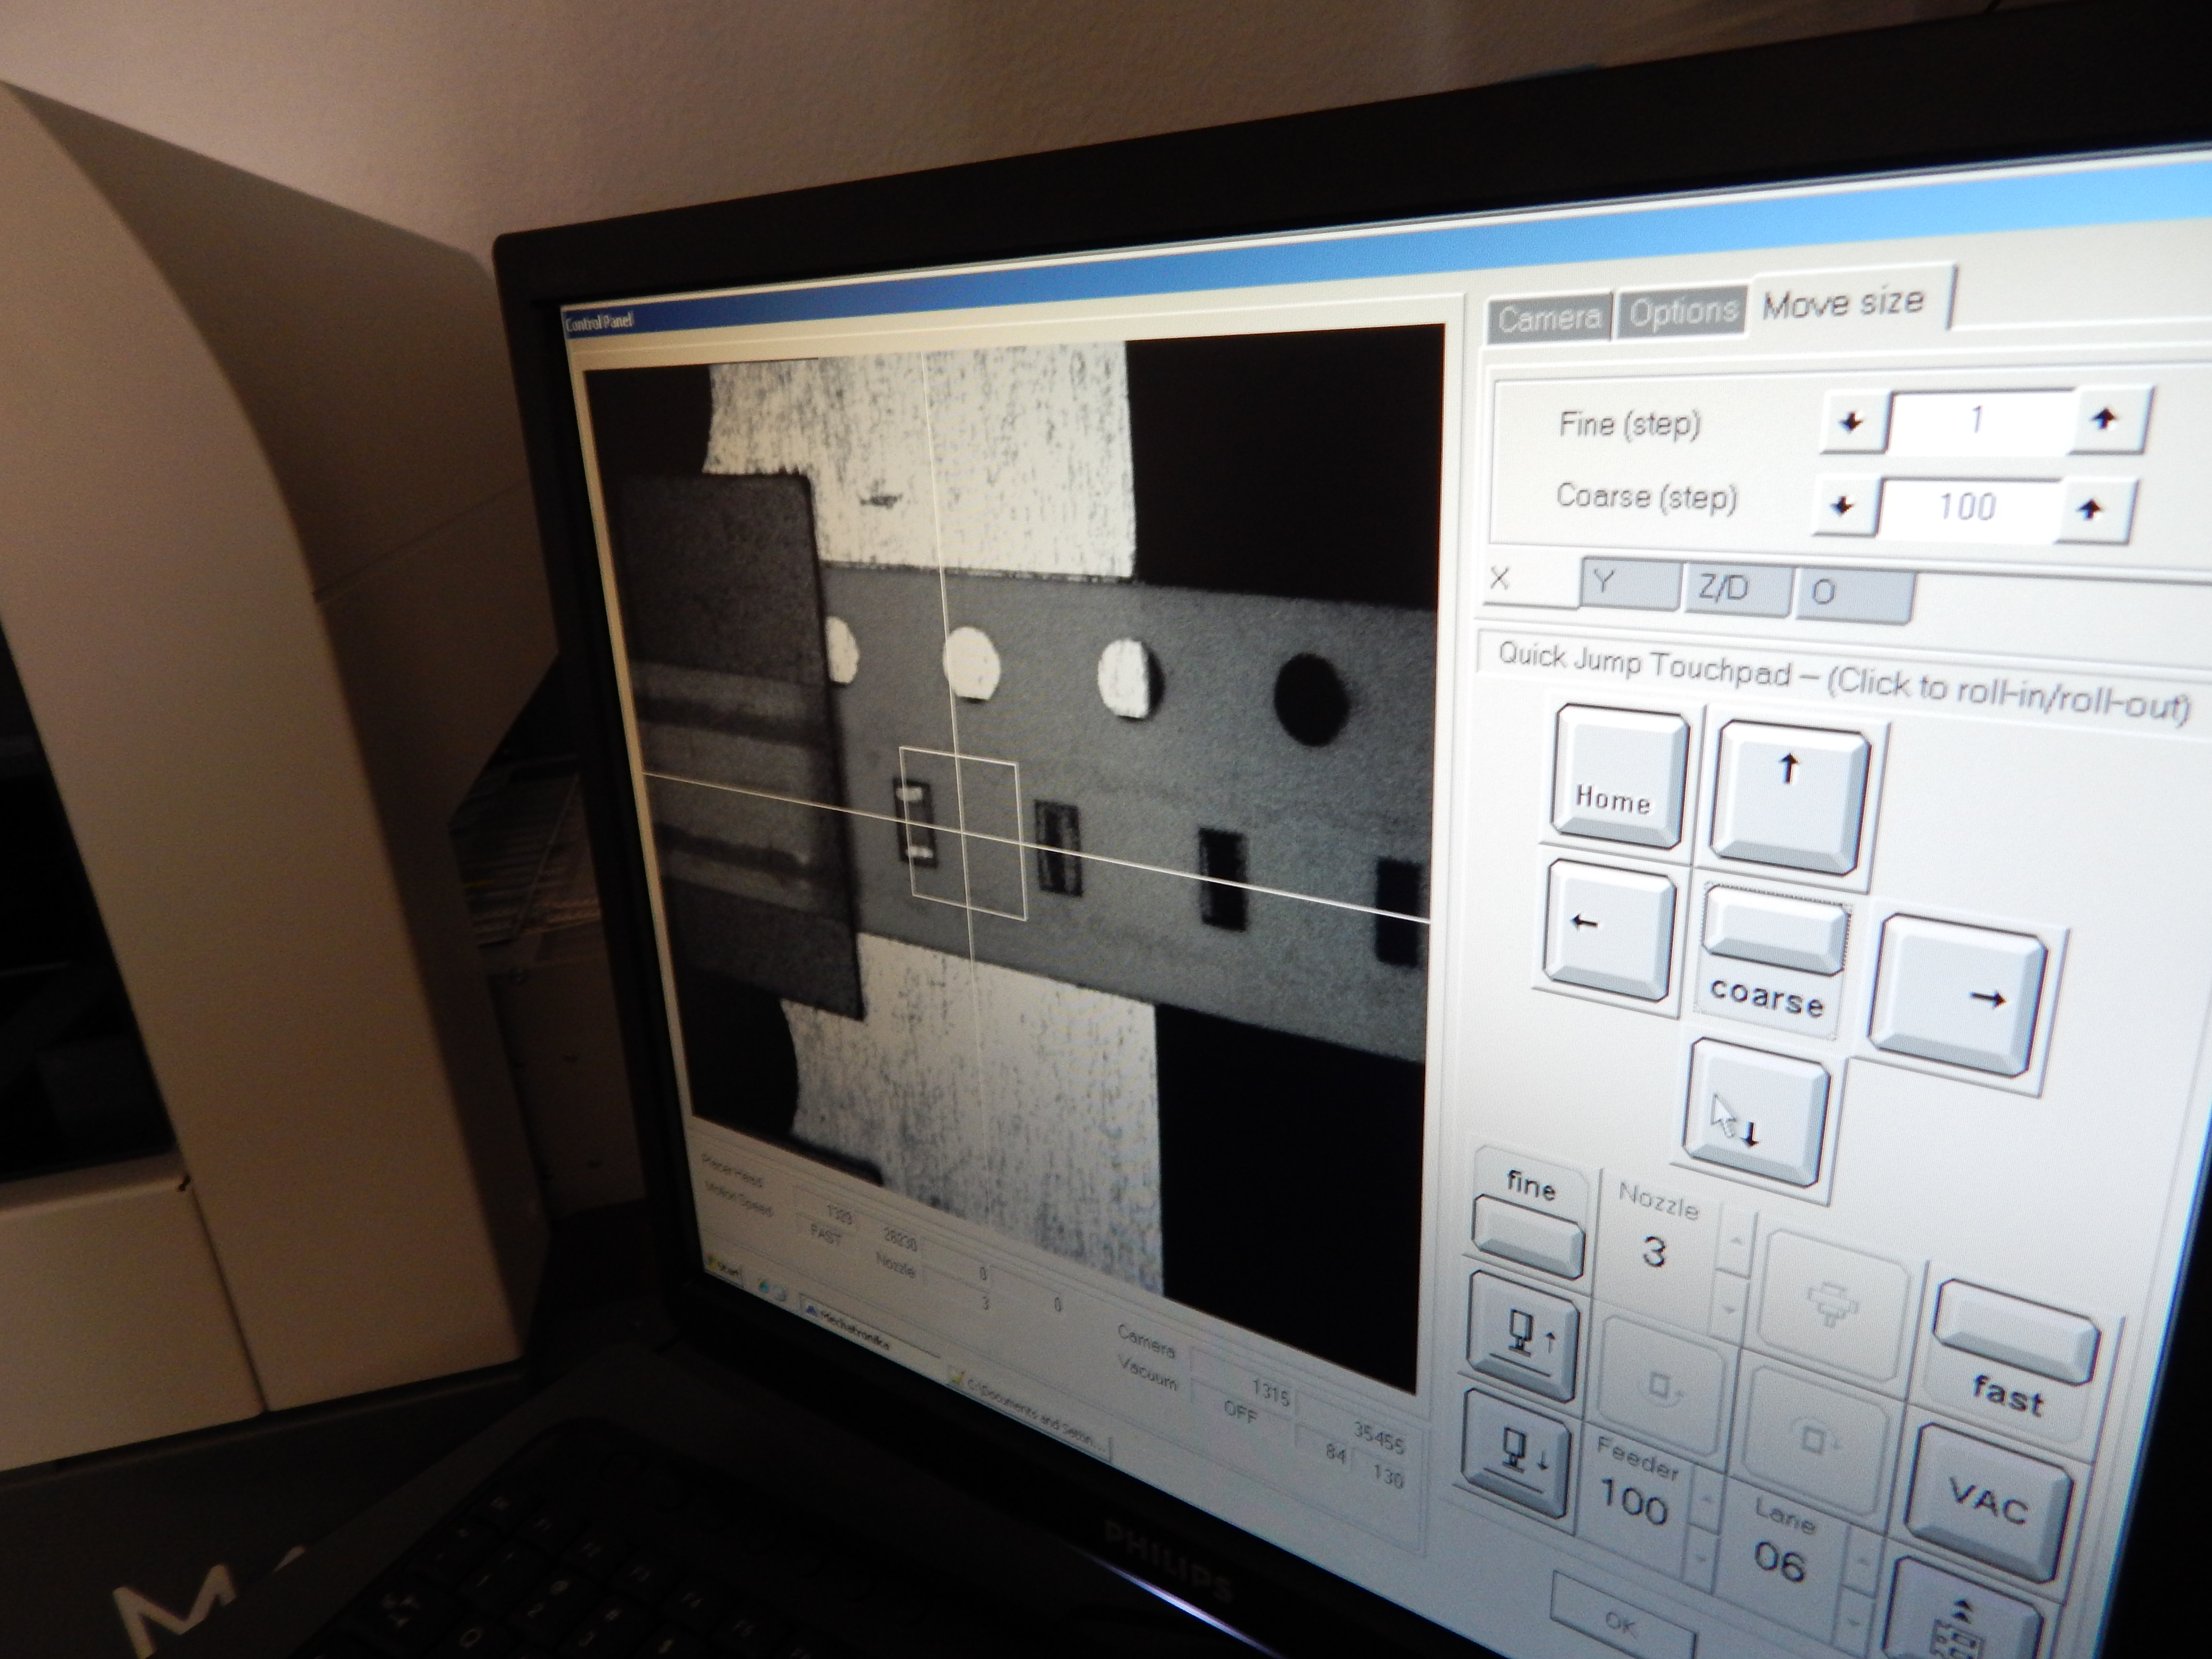
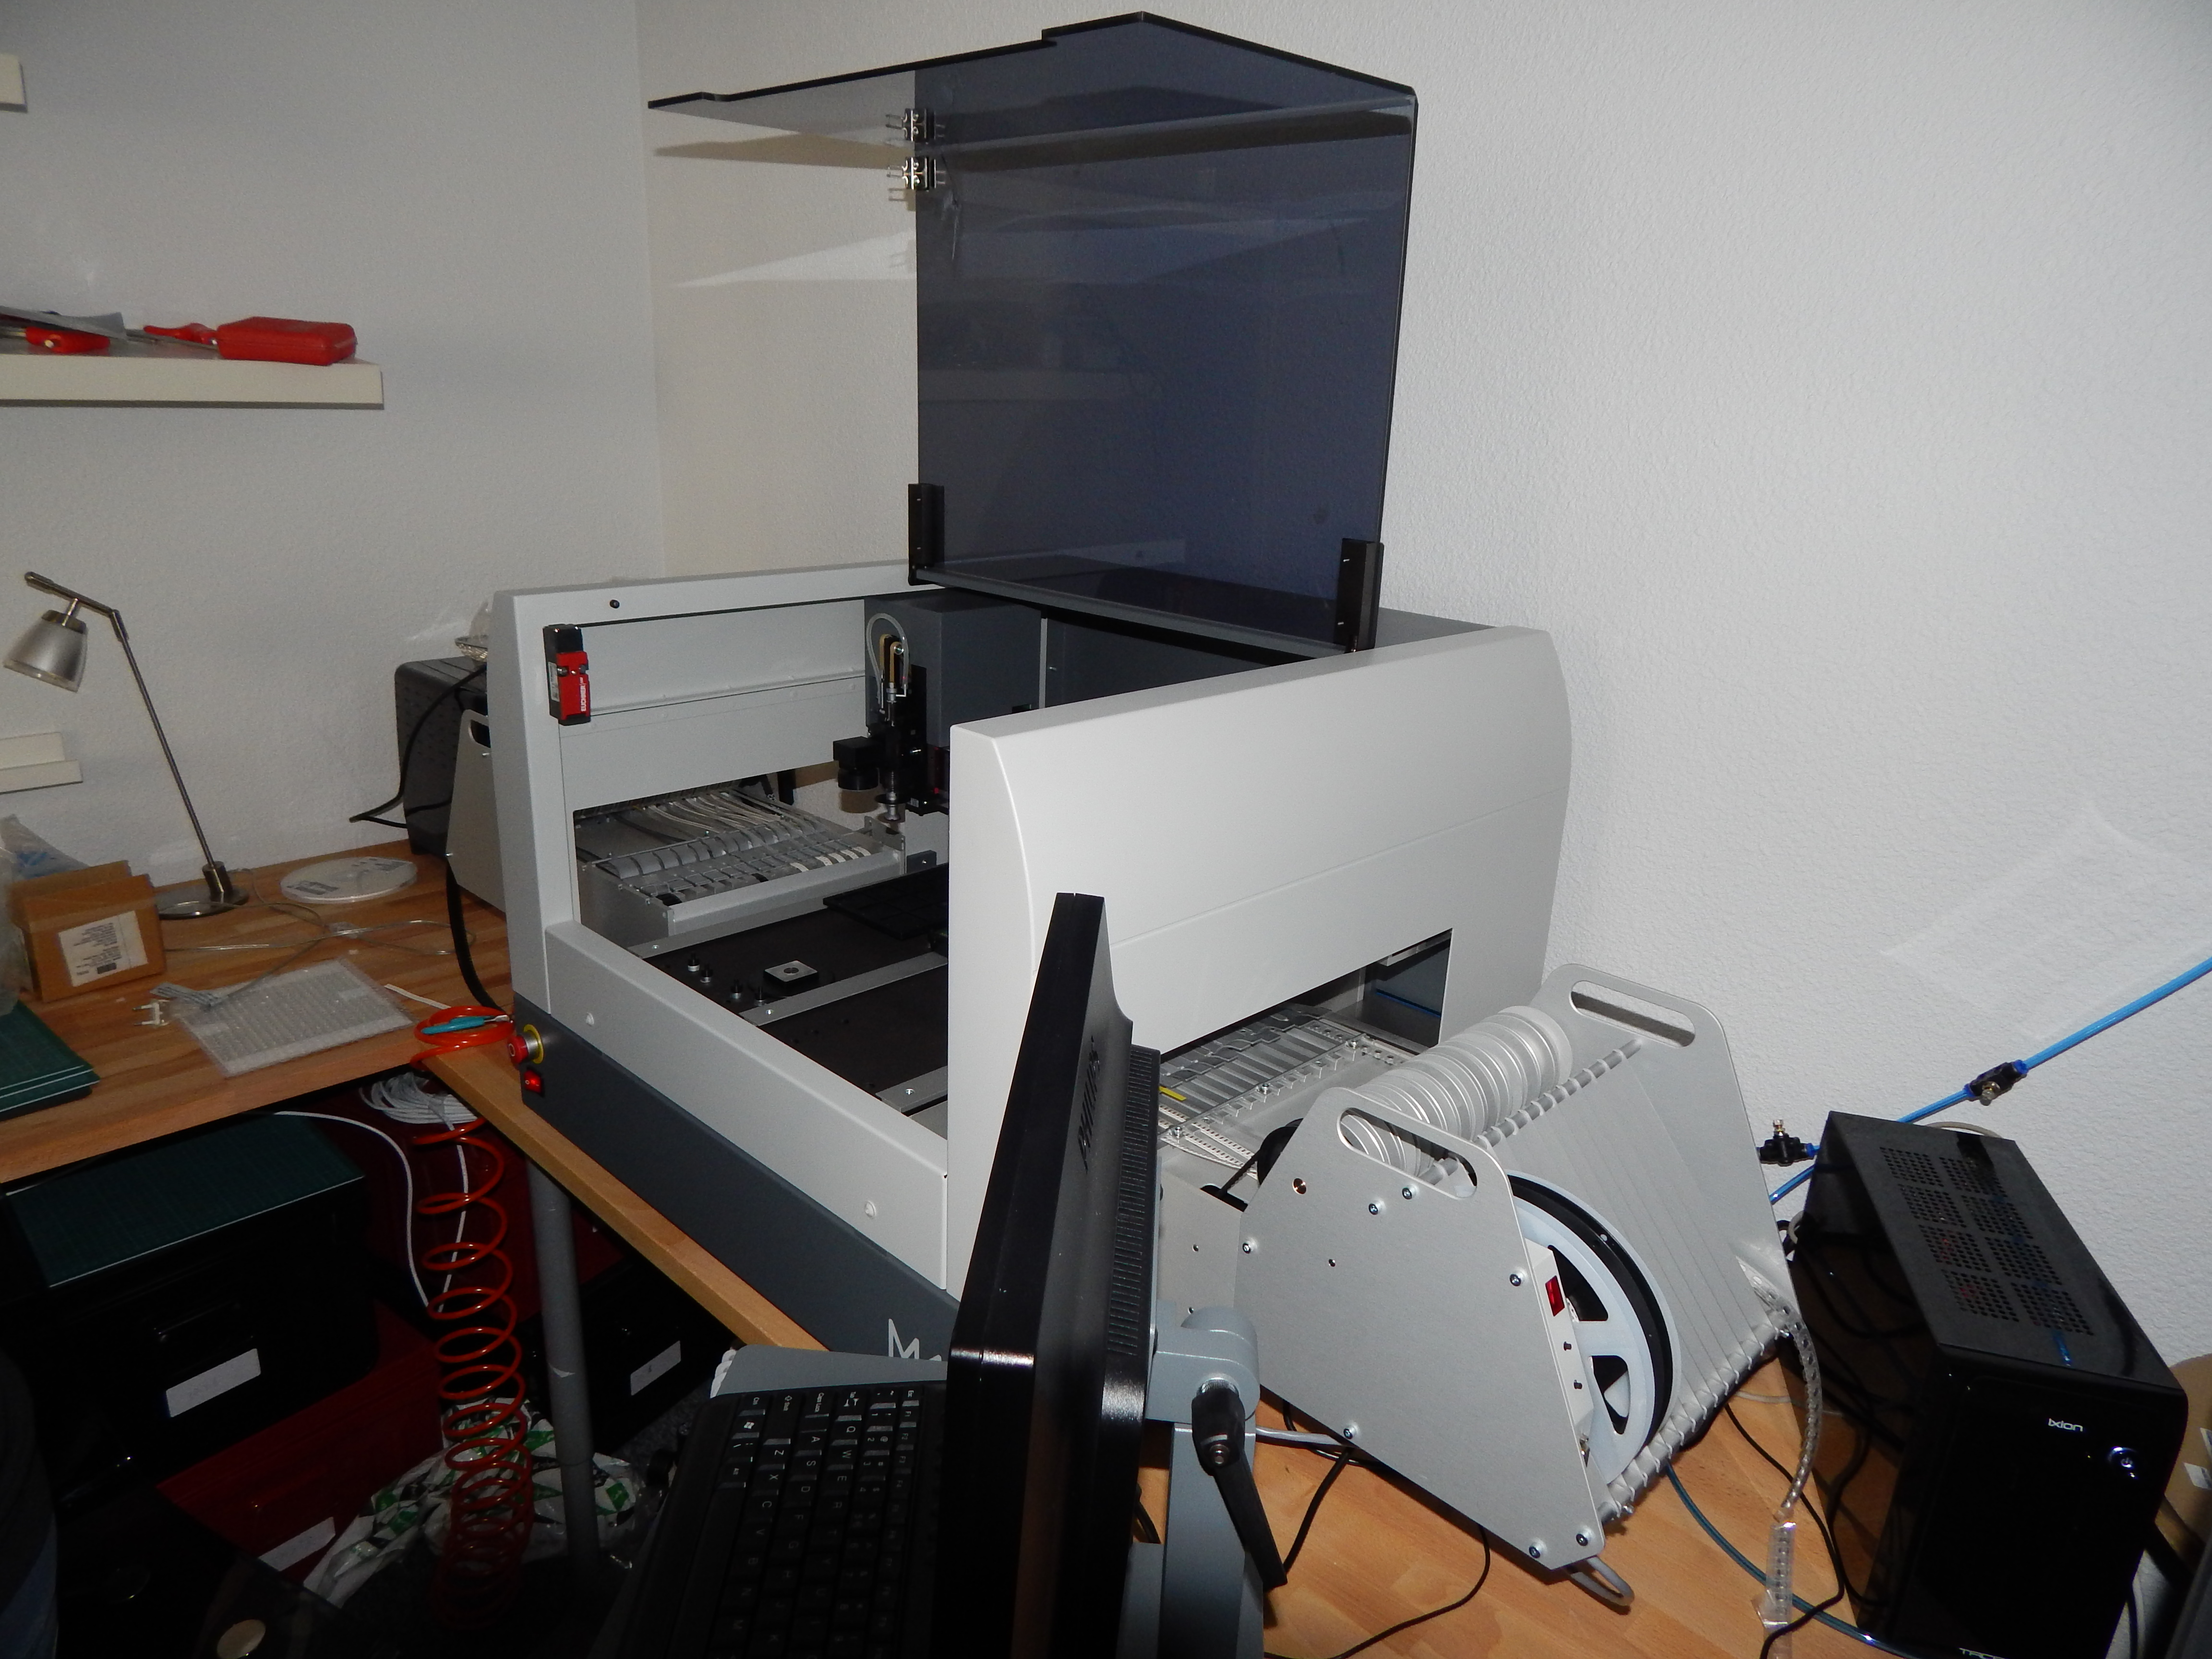
  • 1 pick & Place machine (Mechatronika M10)

PickandPlaceM10


PickandPlaceControl


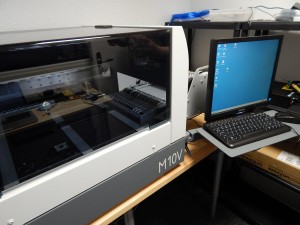
You can find more info on its features on http://www.mechatronika.com.pl/content/view/21/4/lang/en/

  • 1 homemade reflow oven

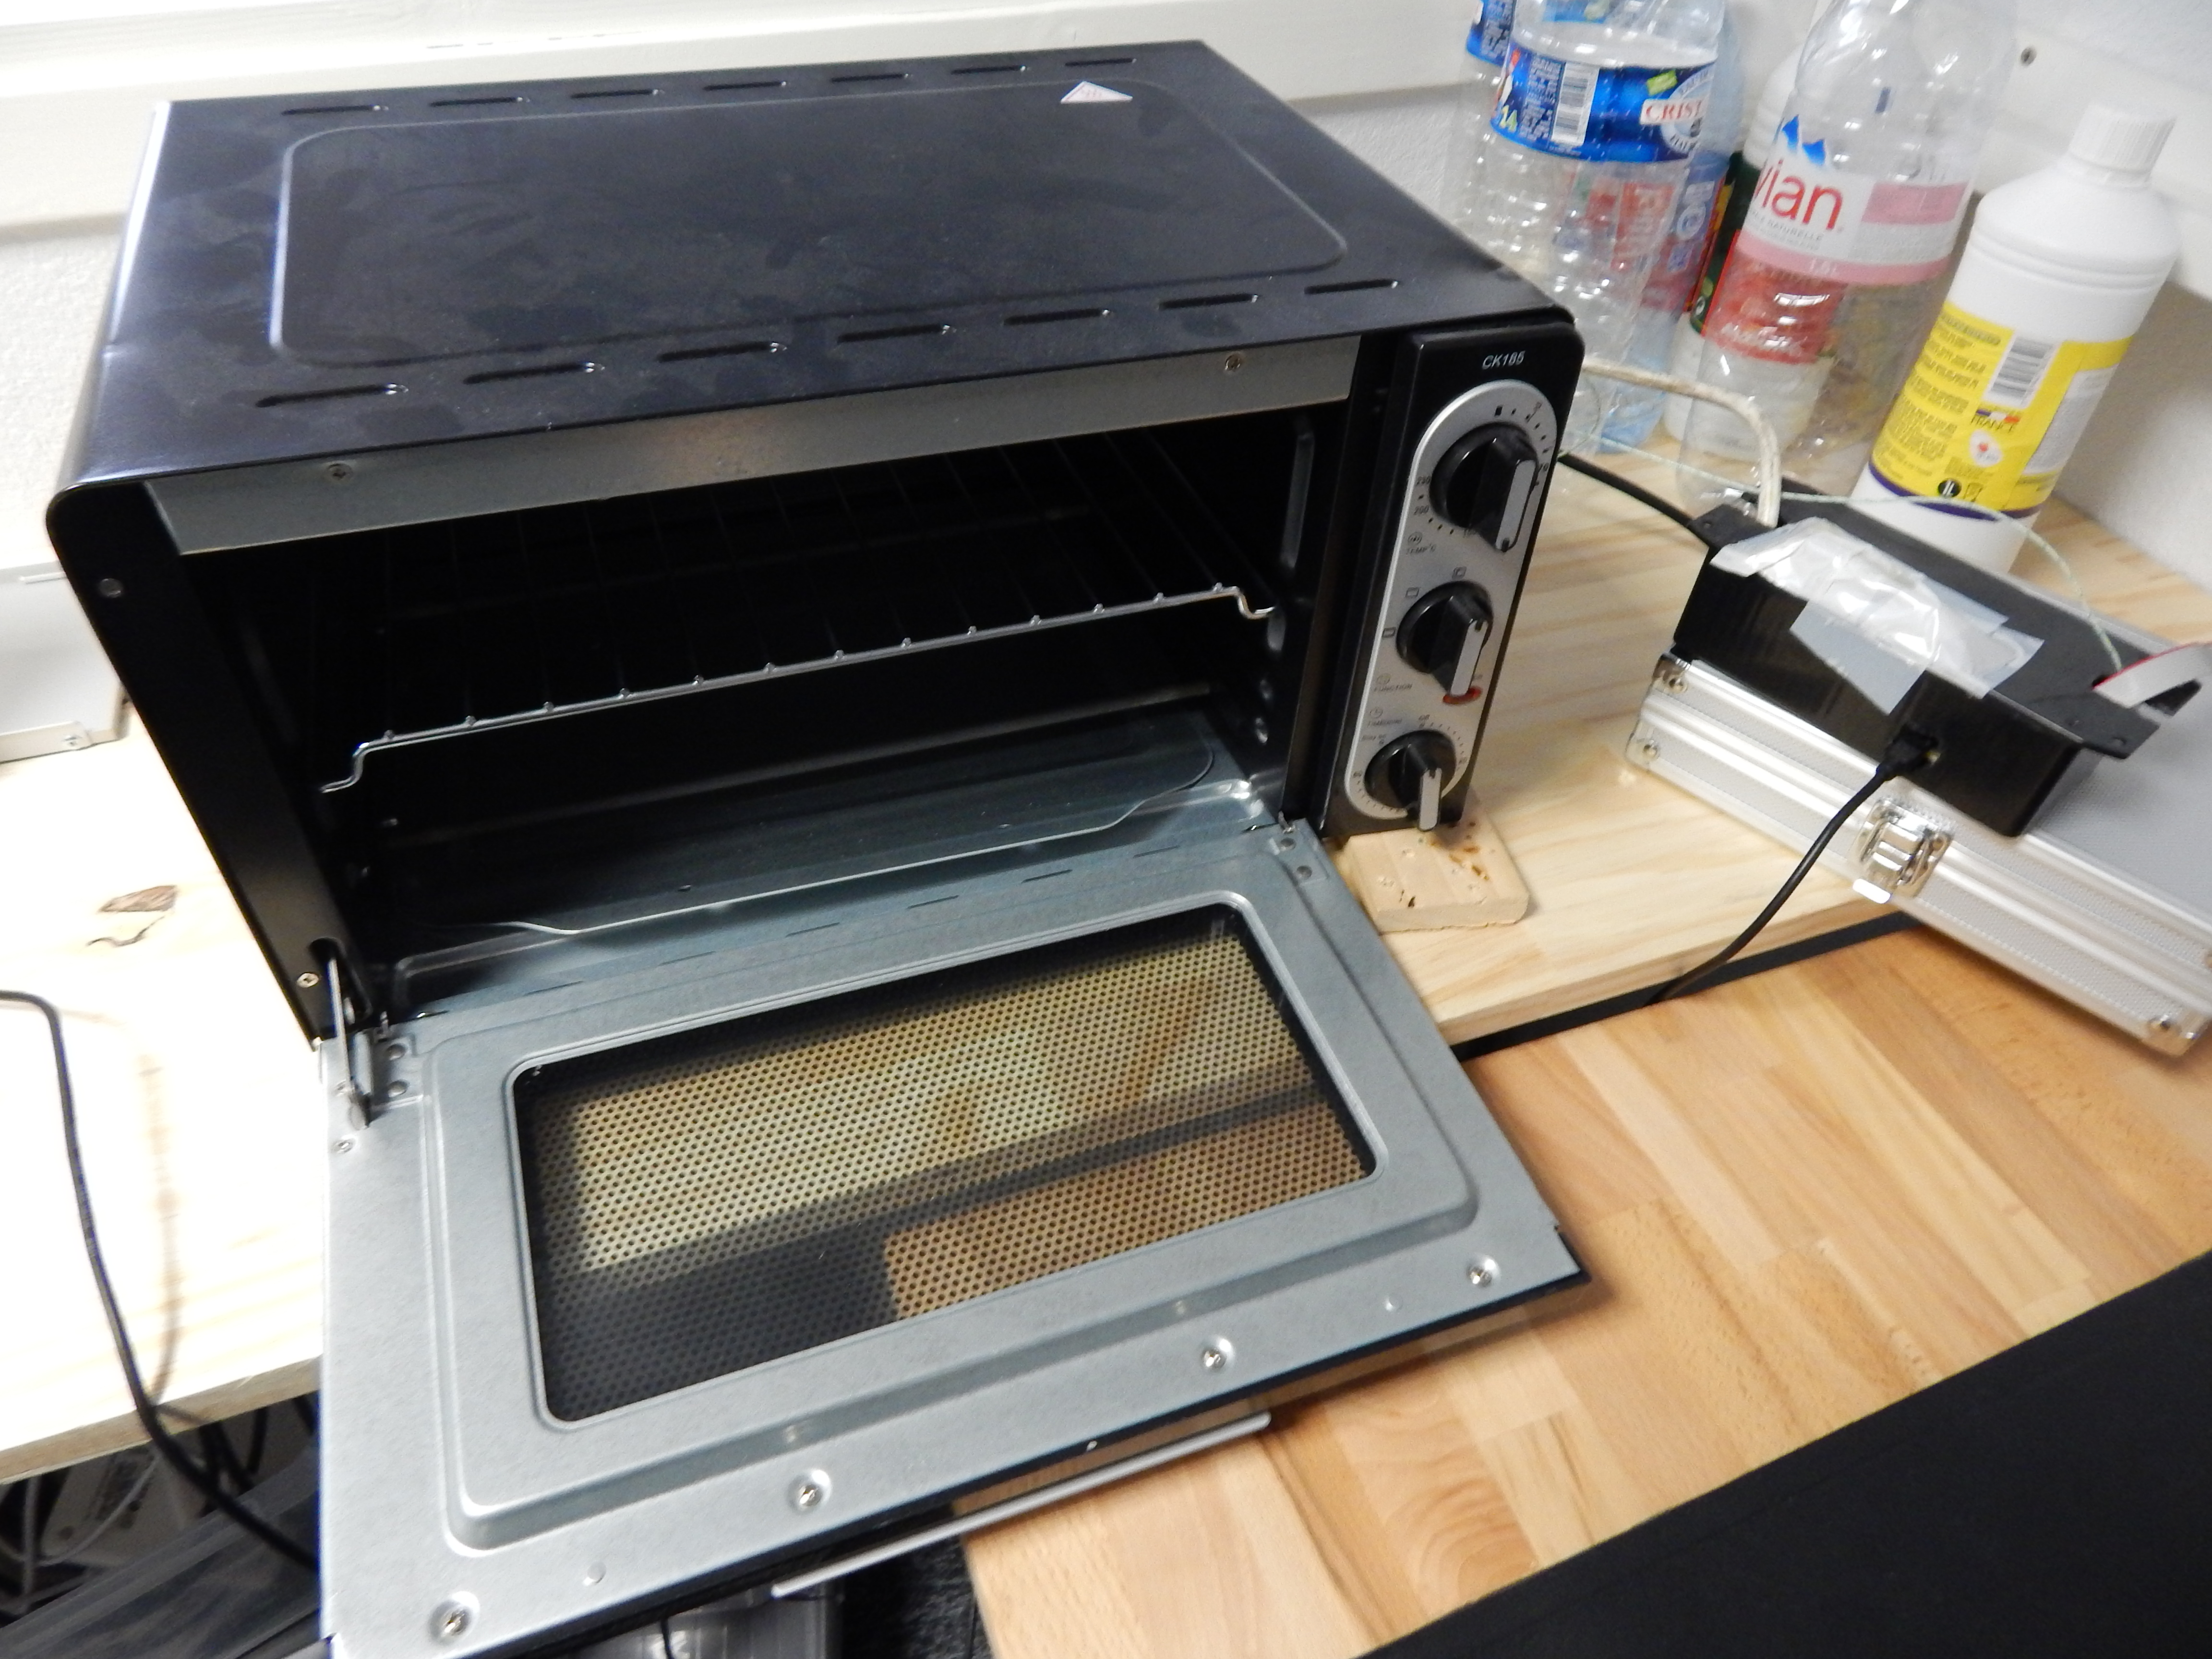
At the beginning of our project we check if a professional reflow oven could be a good solution; however 8000 $ for small series and prototyping is a little bit expensive, so we decide to create our own DIY reflow oven for less than 100 $ 😉

DIYreflowOven


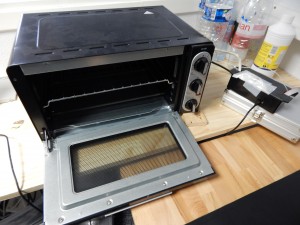
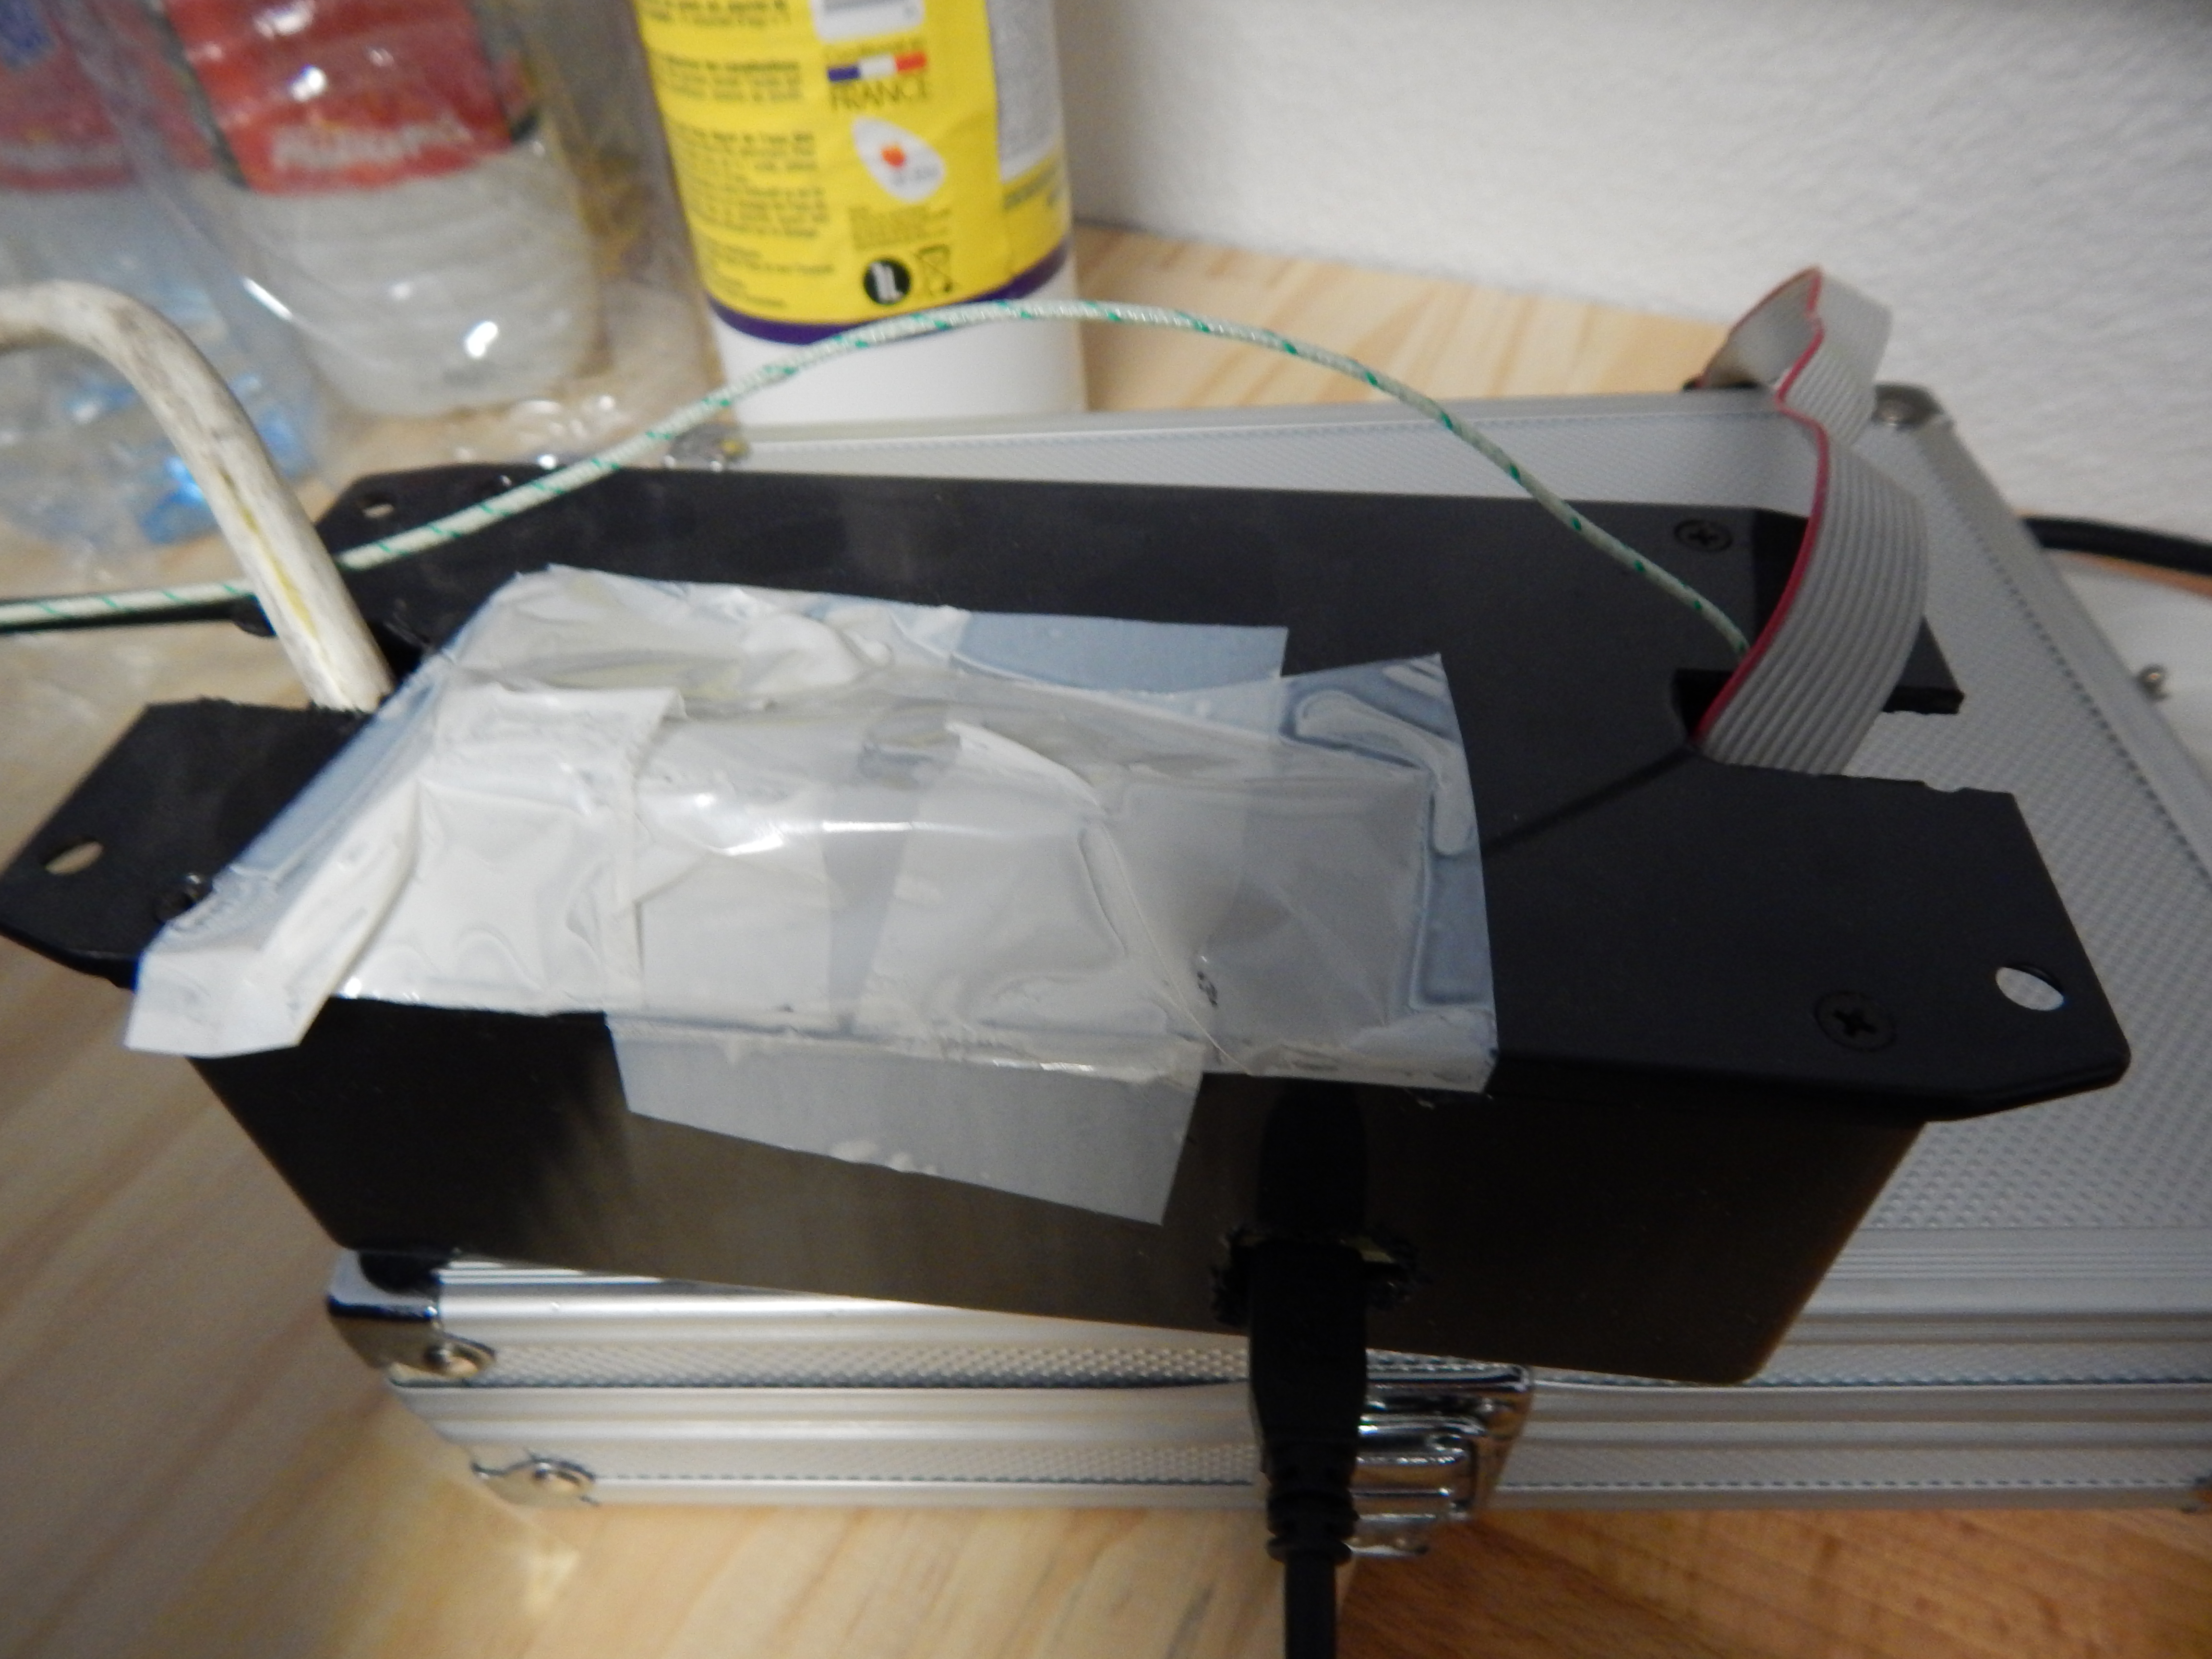
The power of the oven (thus the temperature inside it) is controlled by an electronic board that “switch on” or “switch off” the 220V power line. Our goal is to be able to adjust the temperature according to a consign via a classical PID system. All this stuff  is located in the black magic box (DIY also)

DIYBoxforRelfowOven

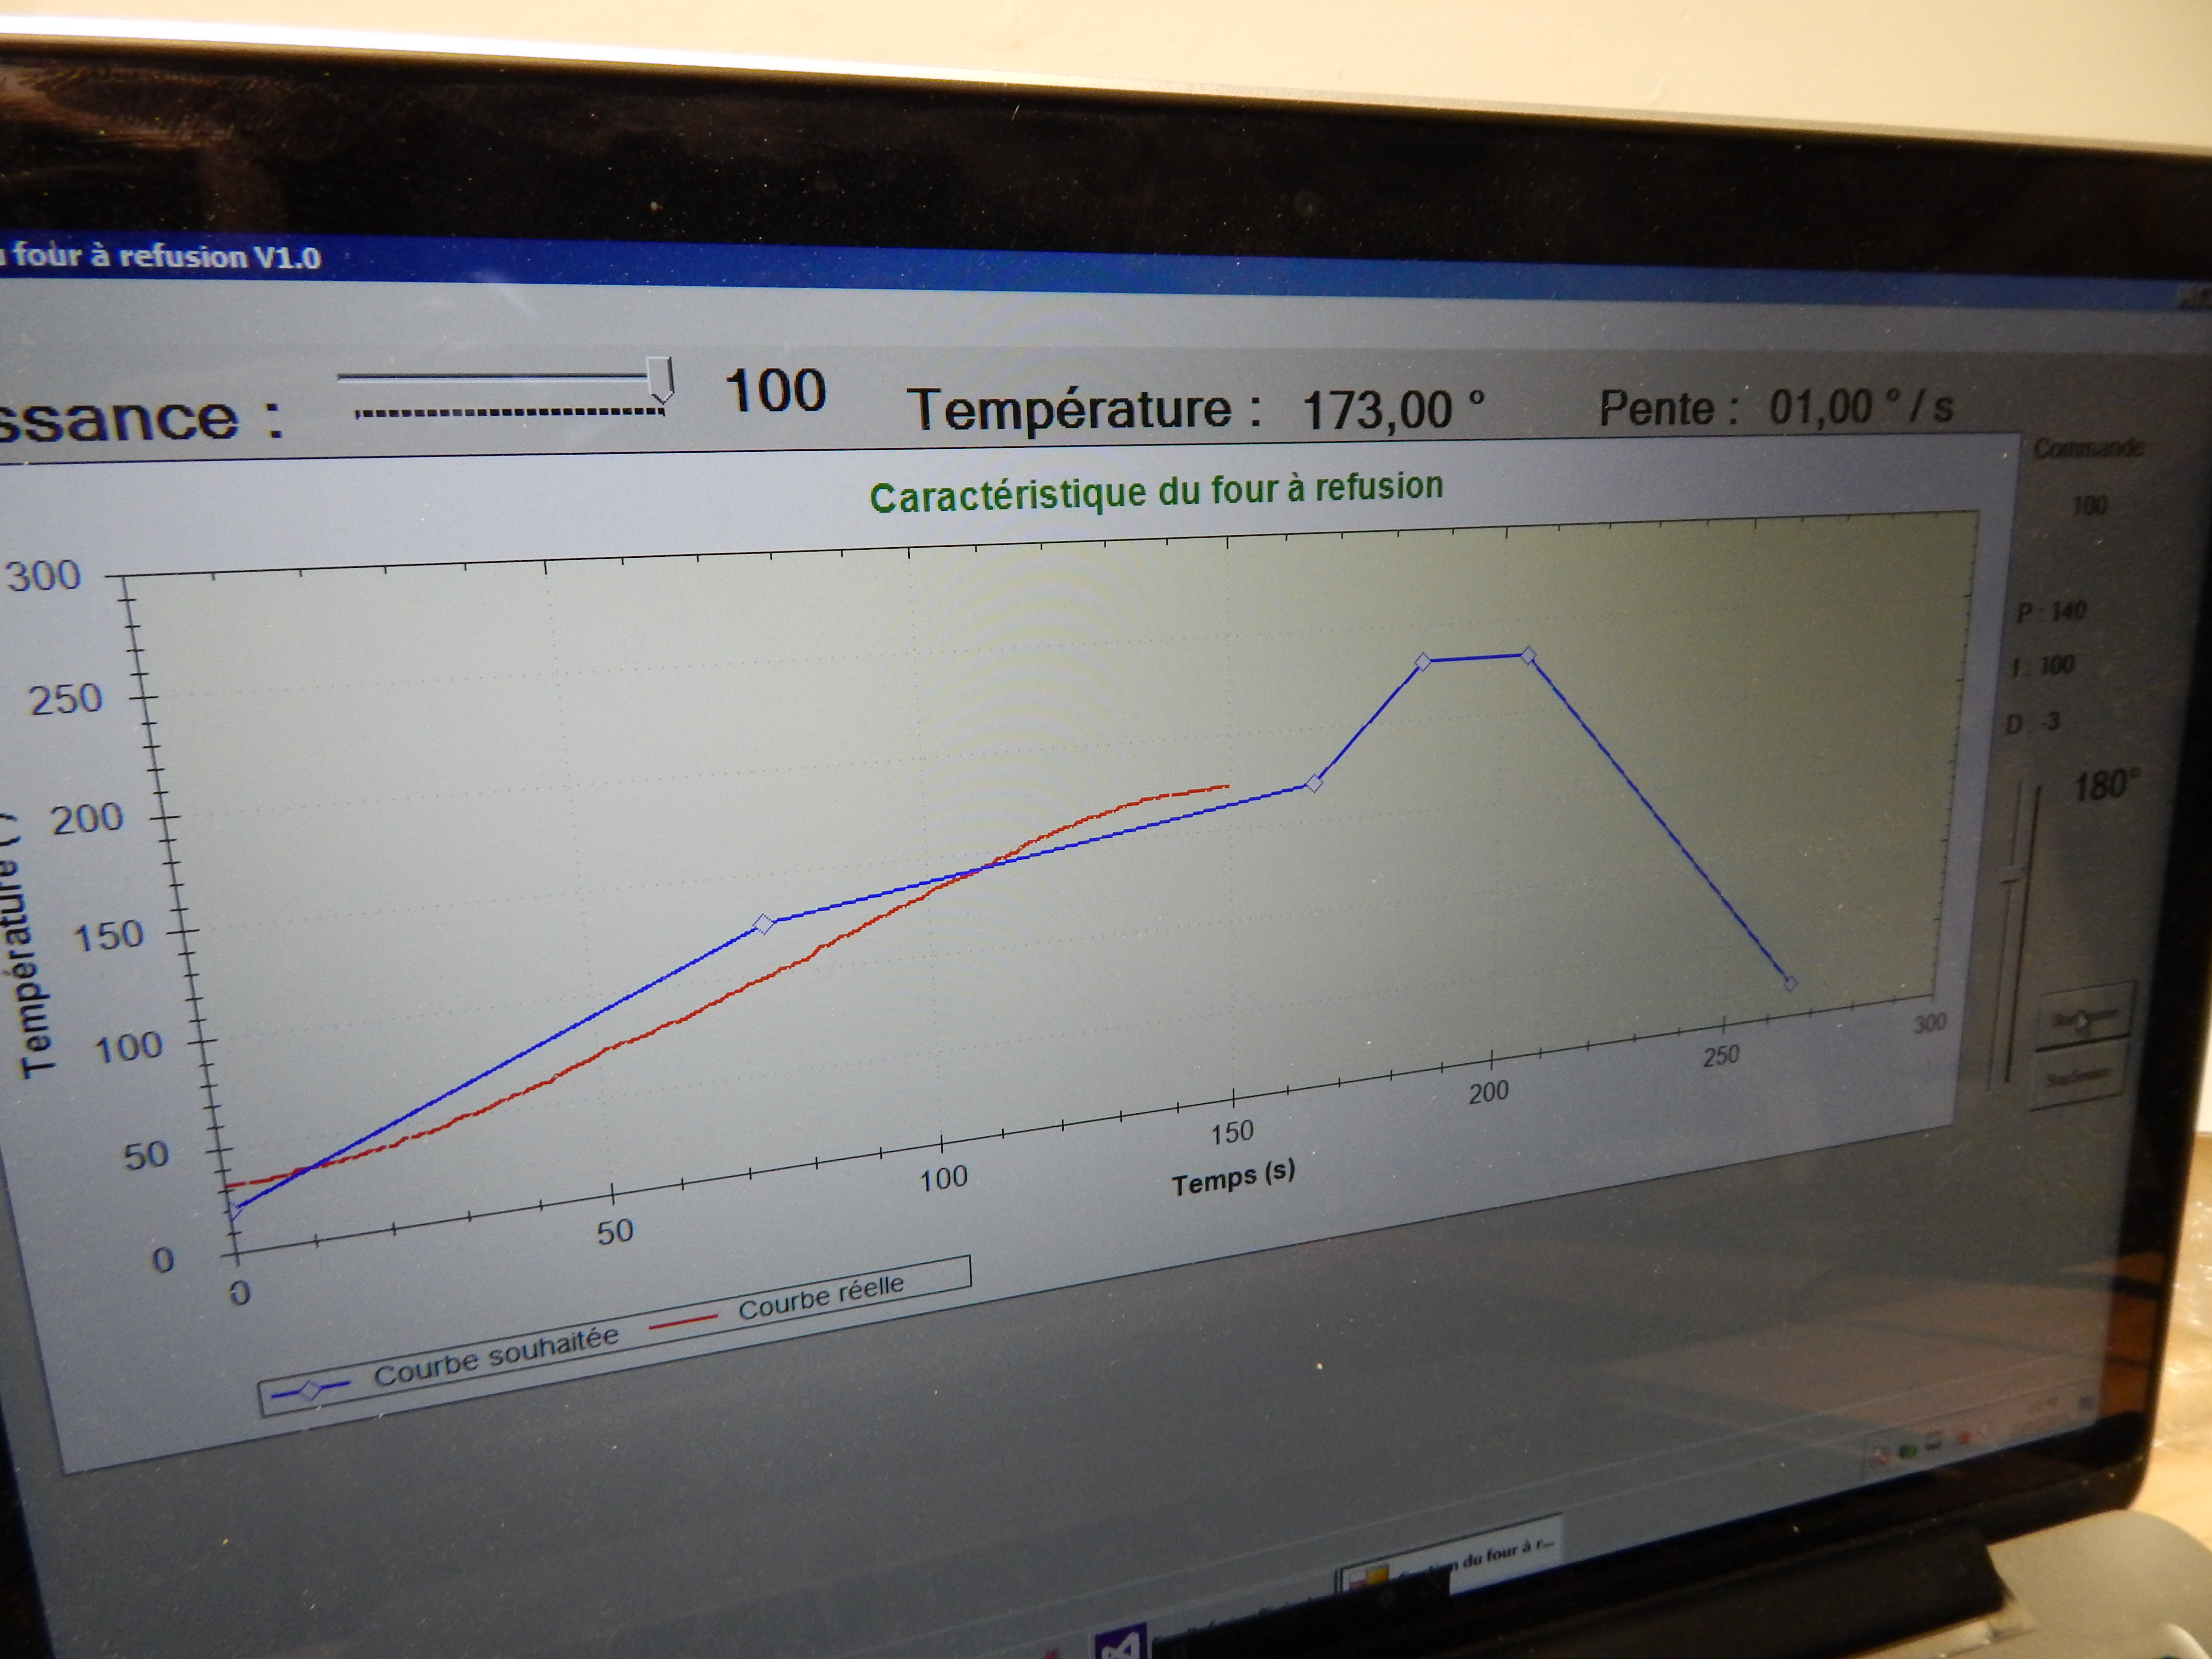
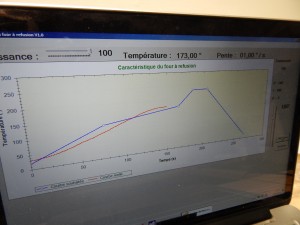
We created a dedicated tool and GUI to control the temperature inside the oven to follow precisely the temperature ramp associated with soldering SMT components

ReflowOvenGUI

  • Bunch of chemical products
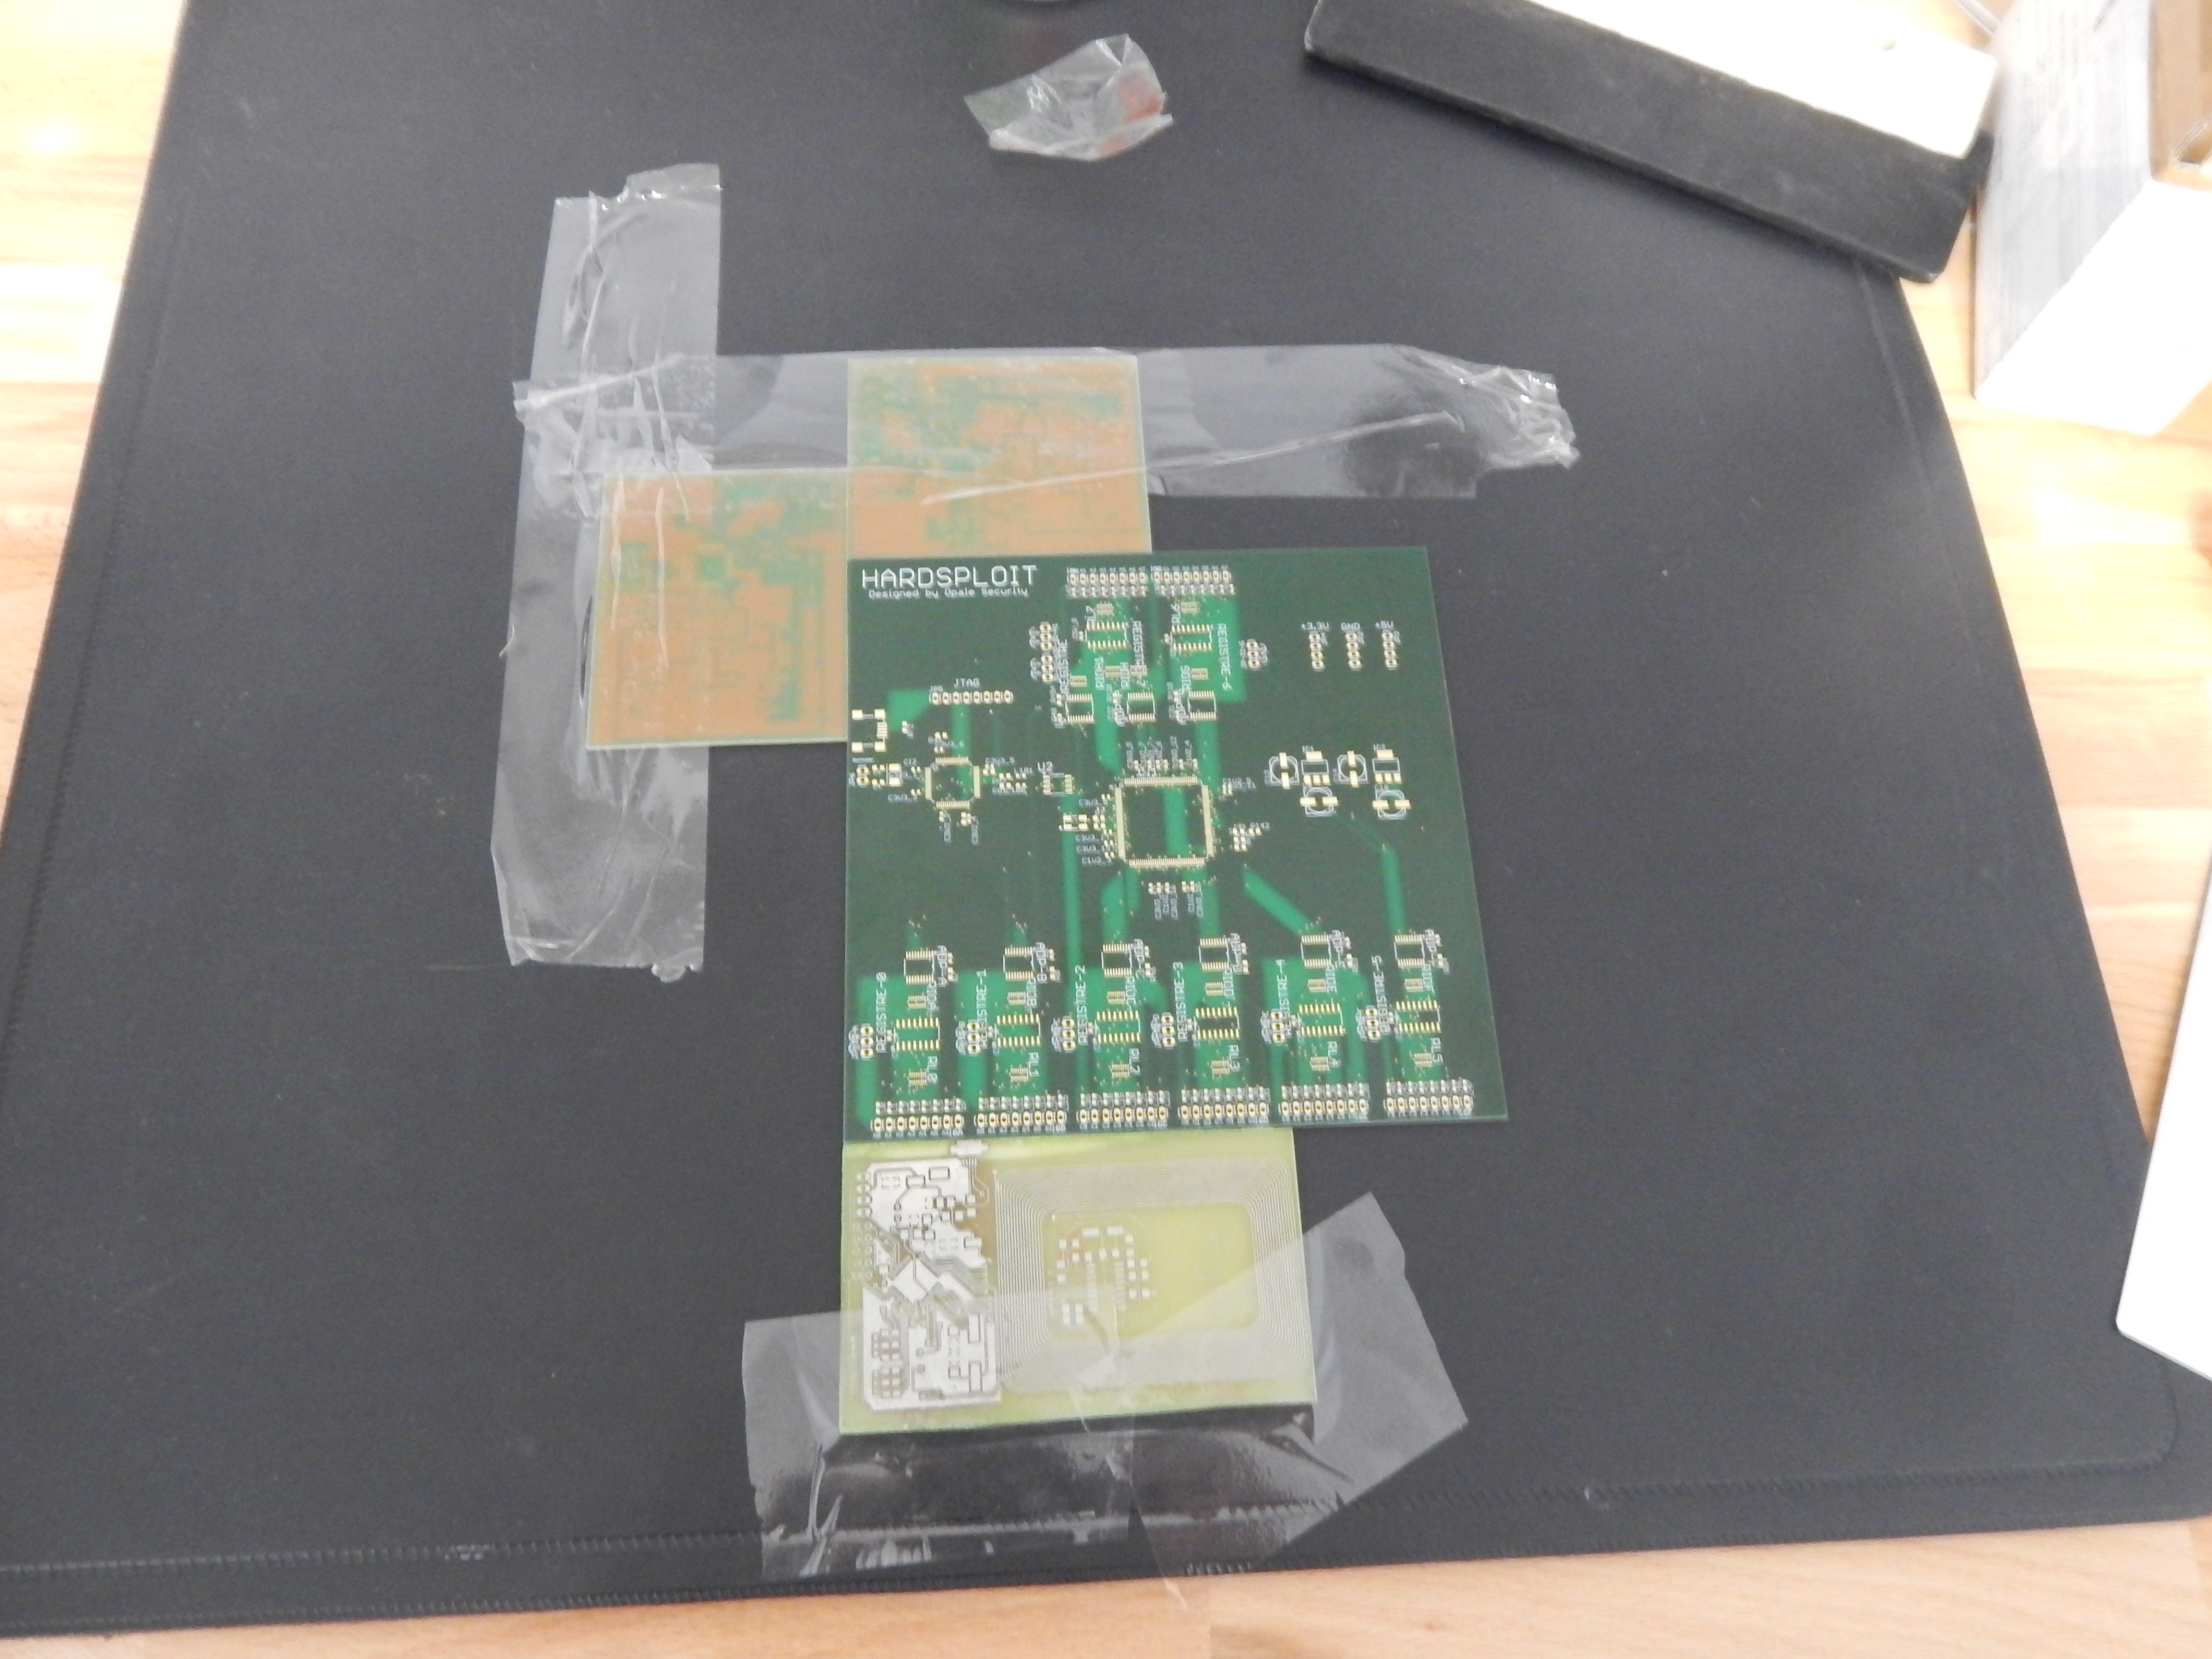
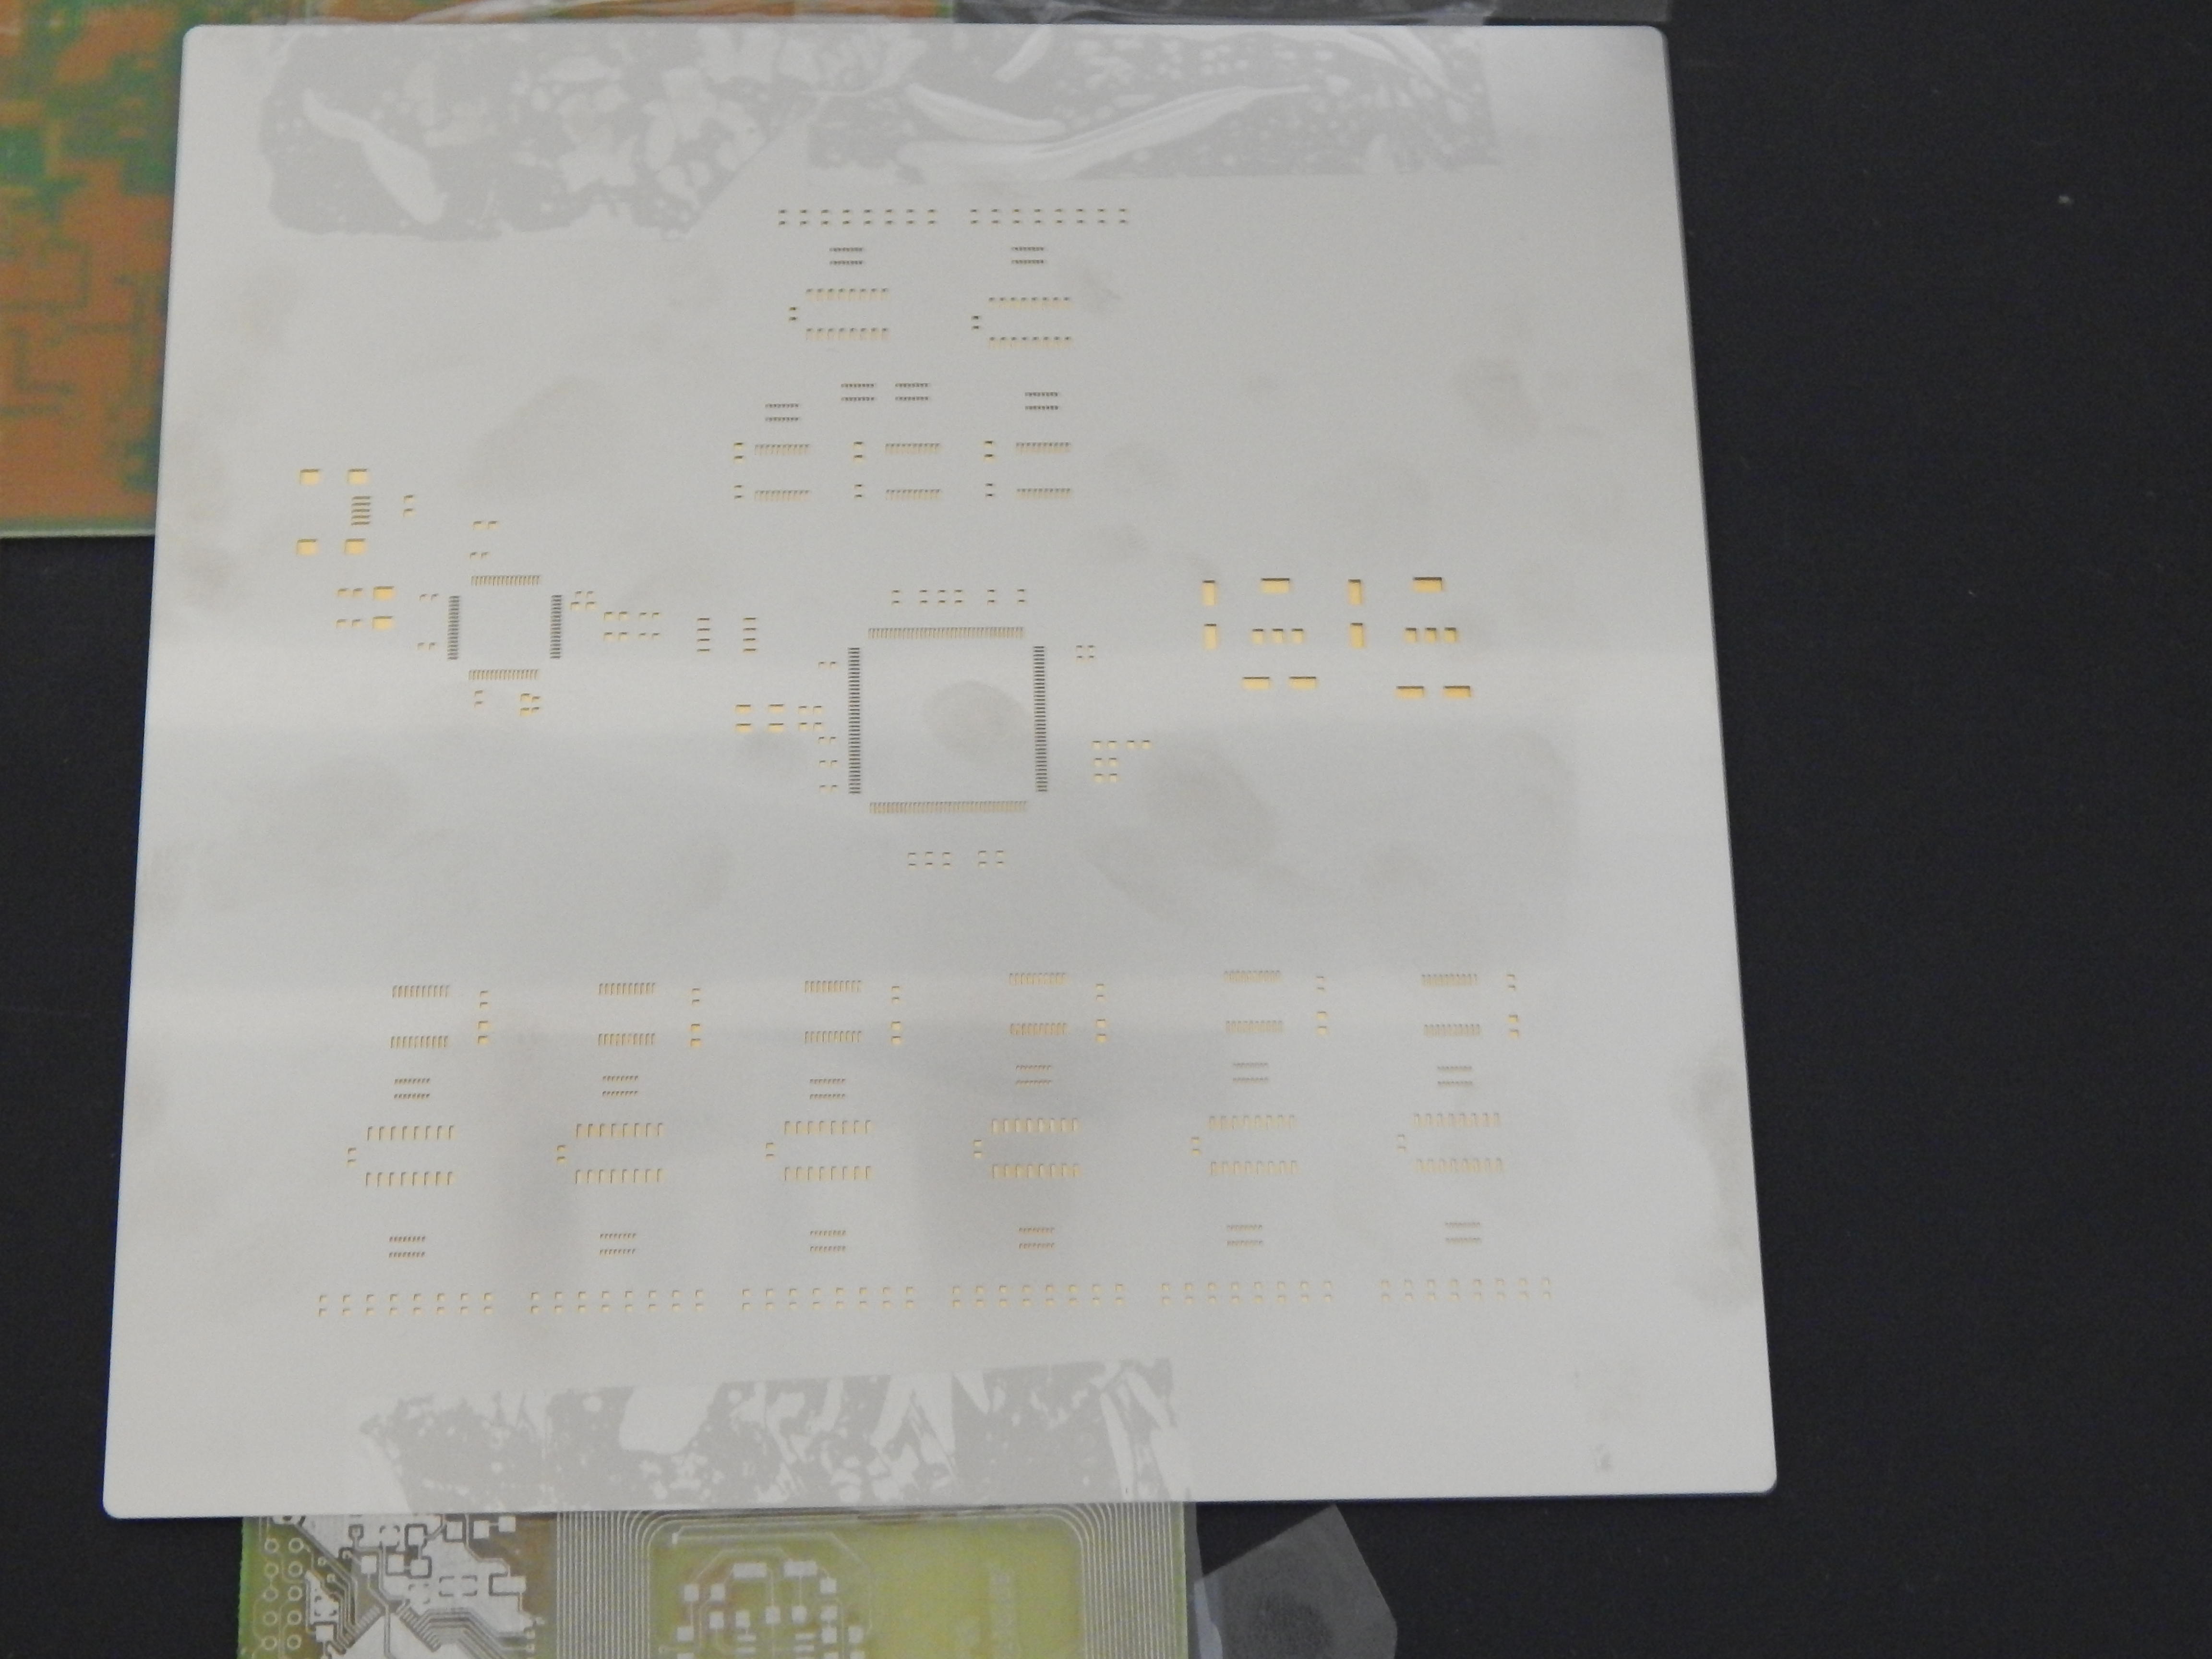
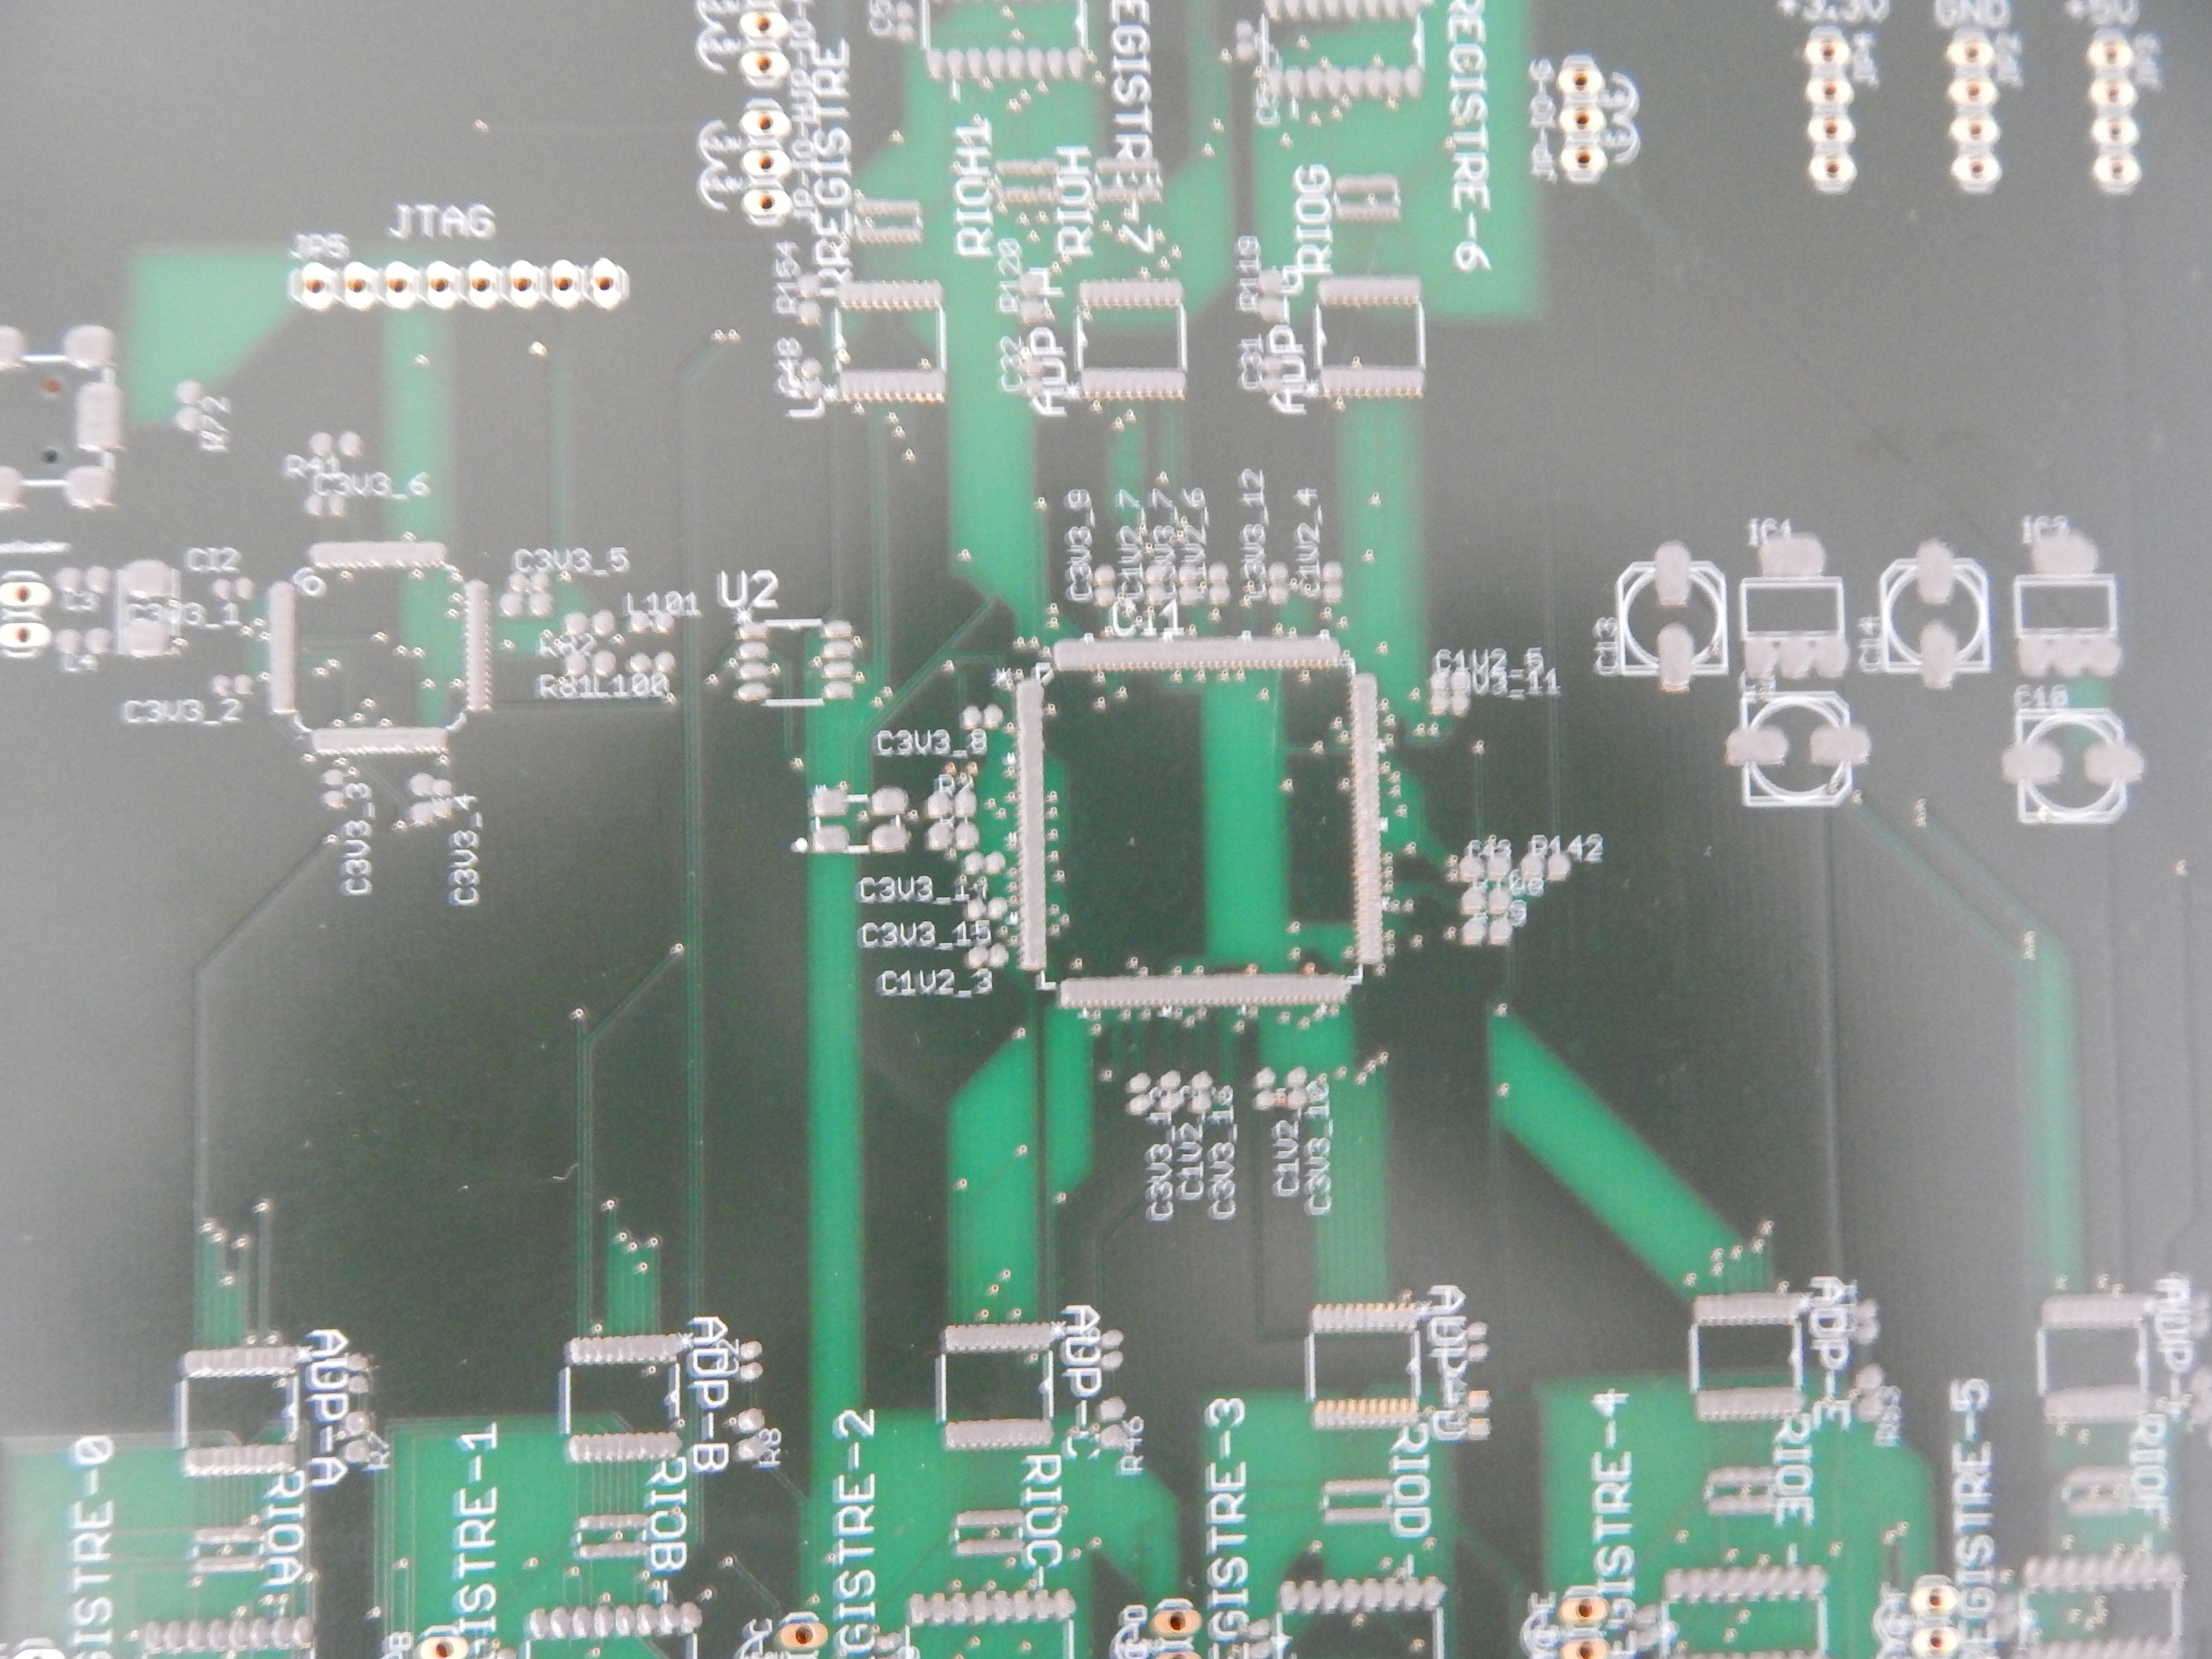
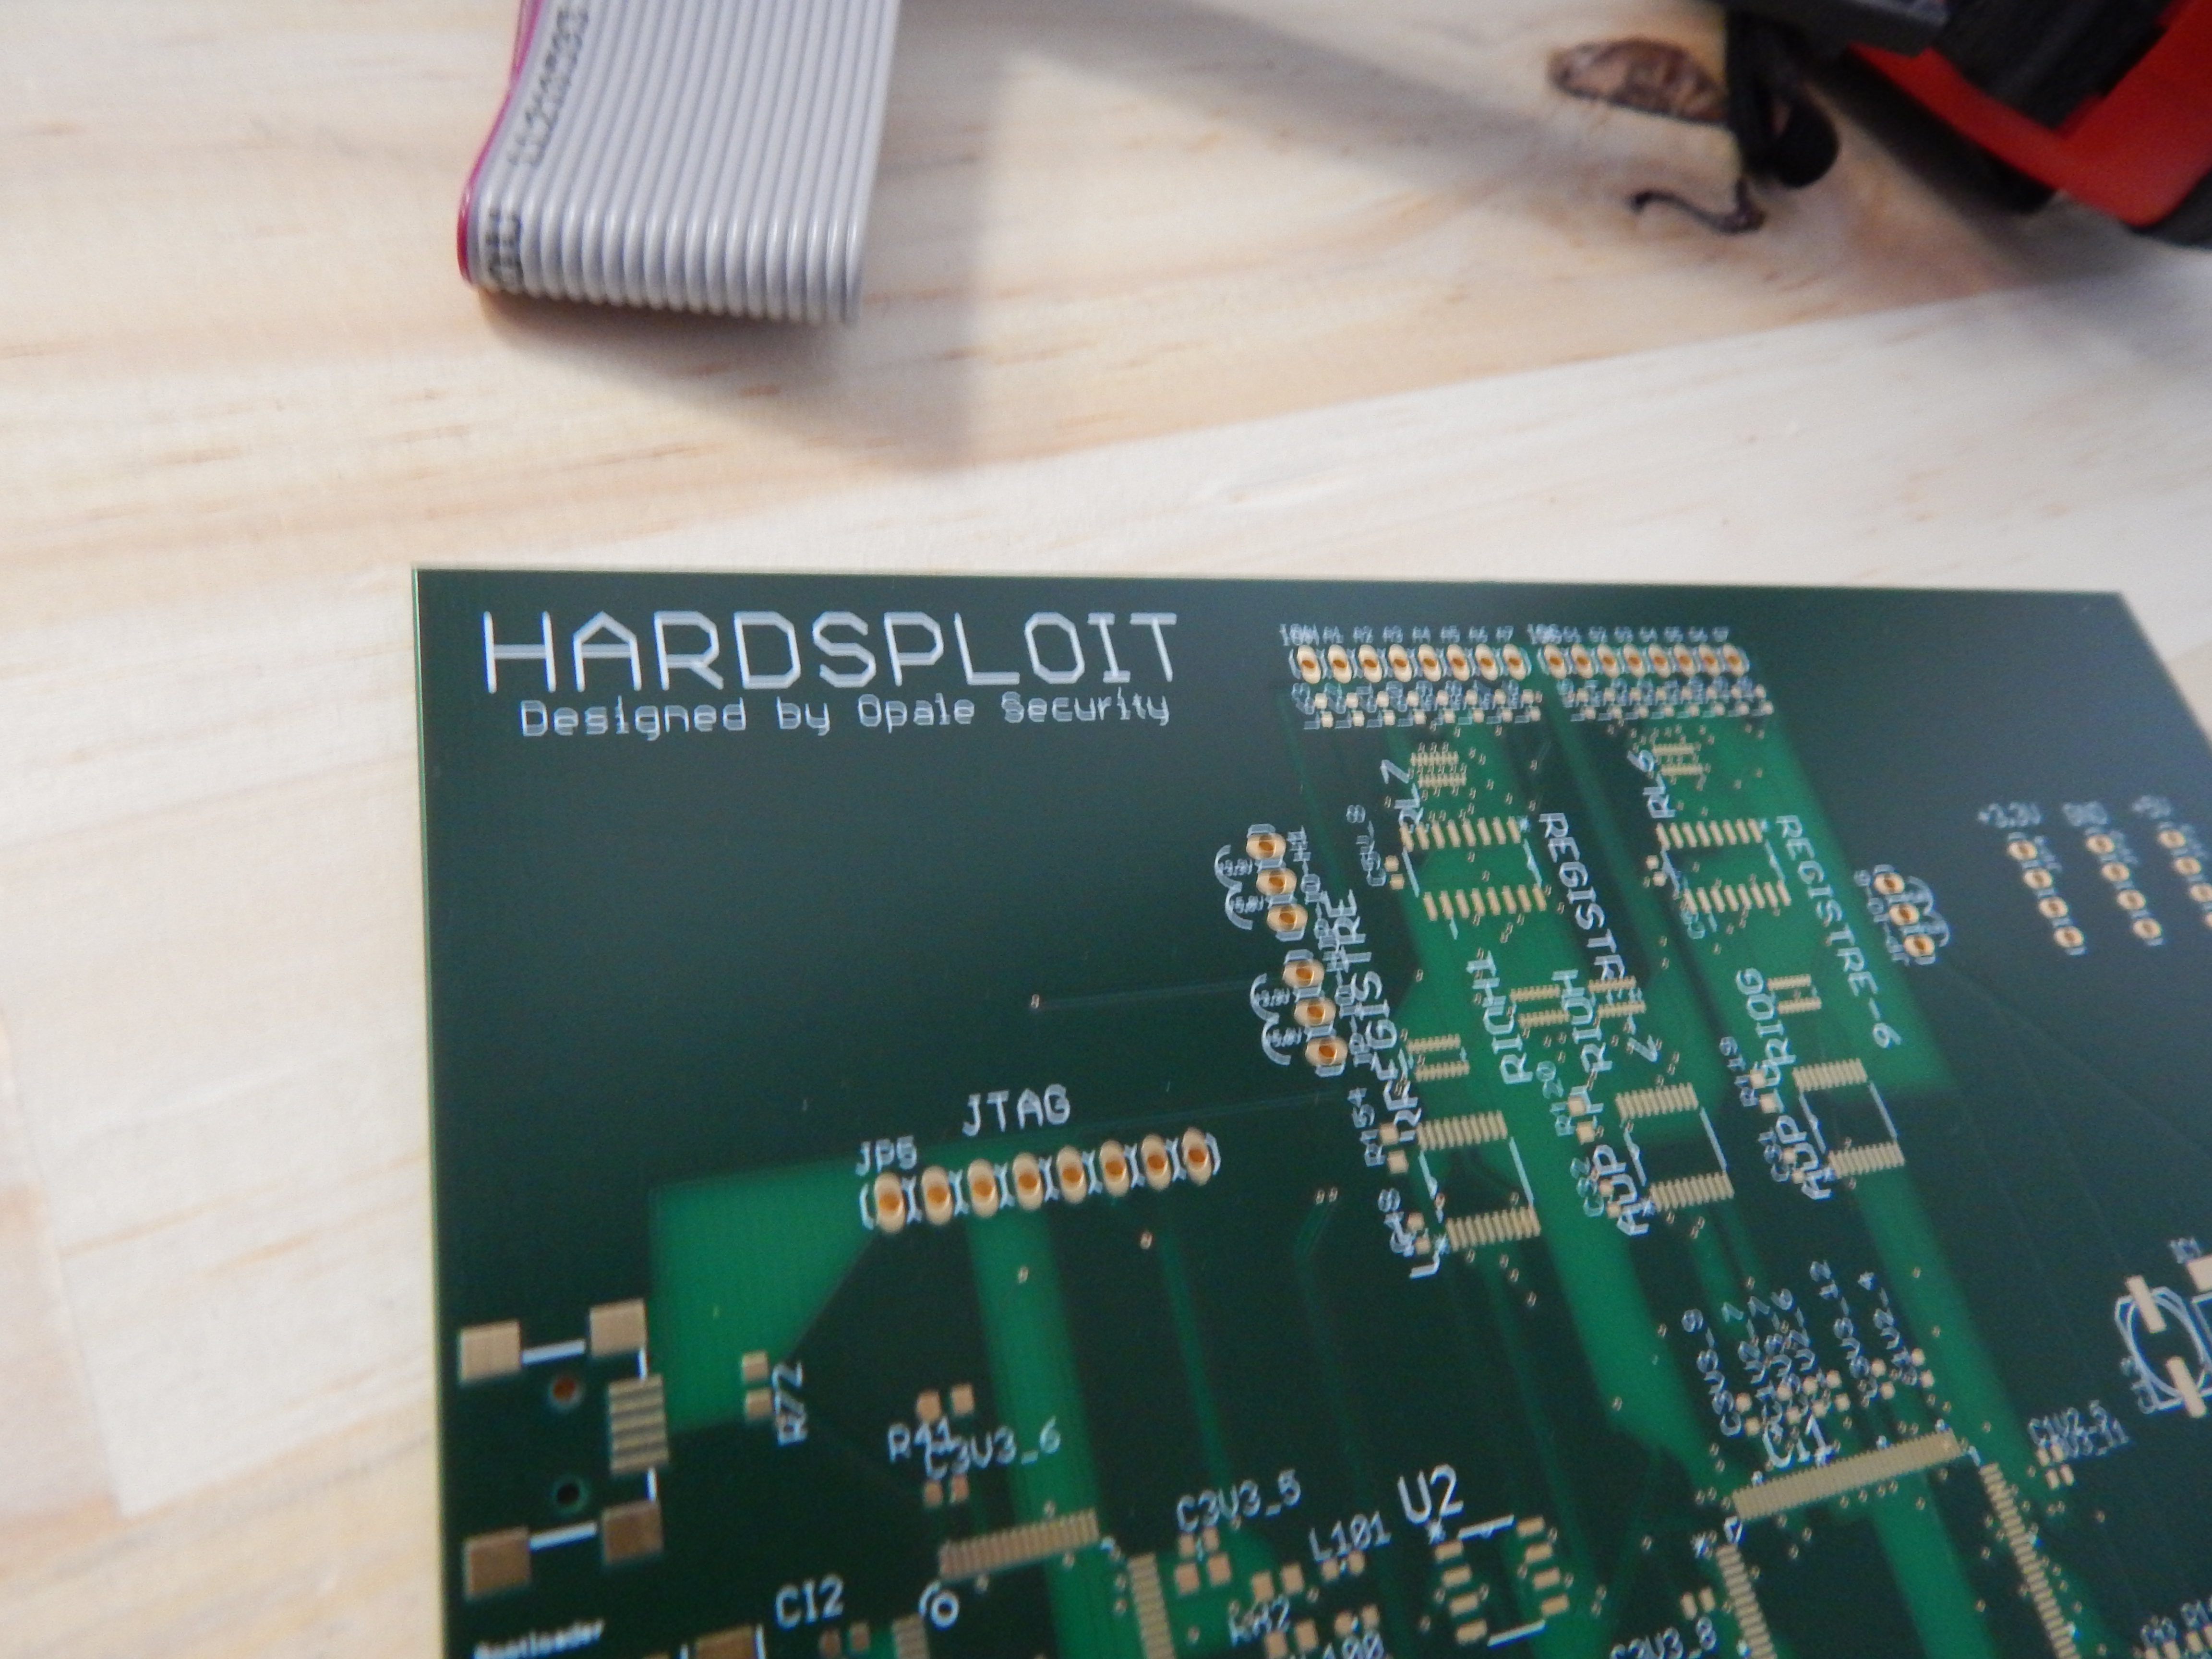
  • Plenty of SMT component
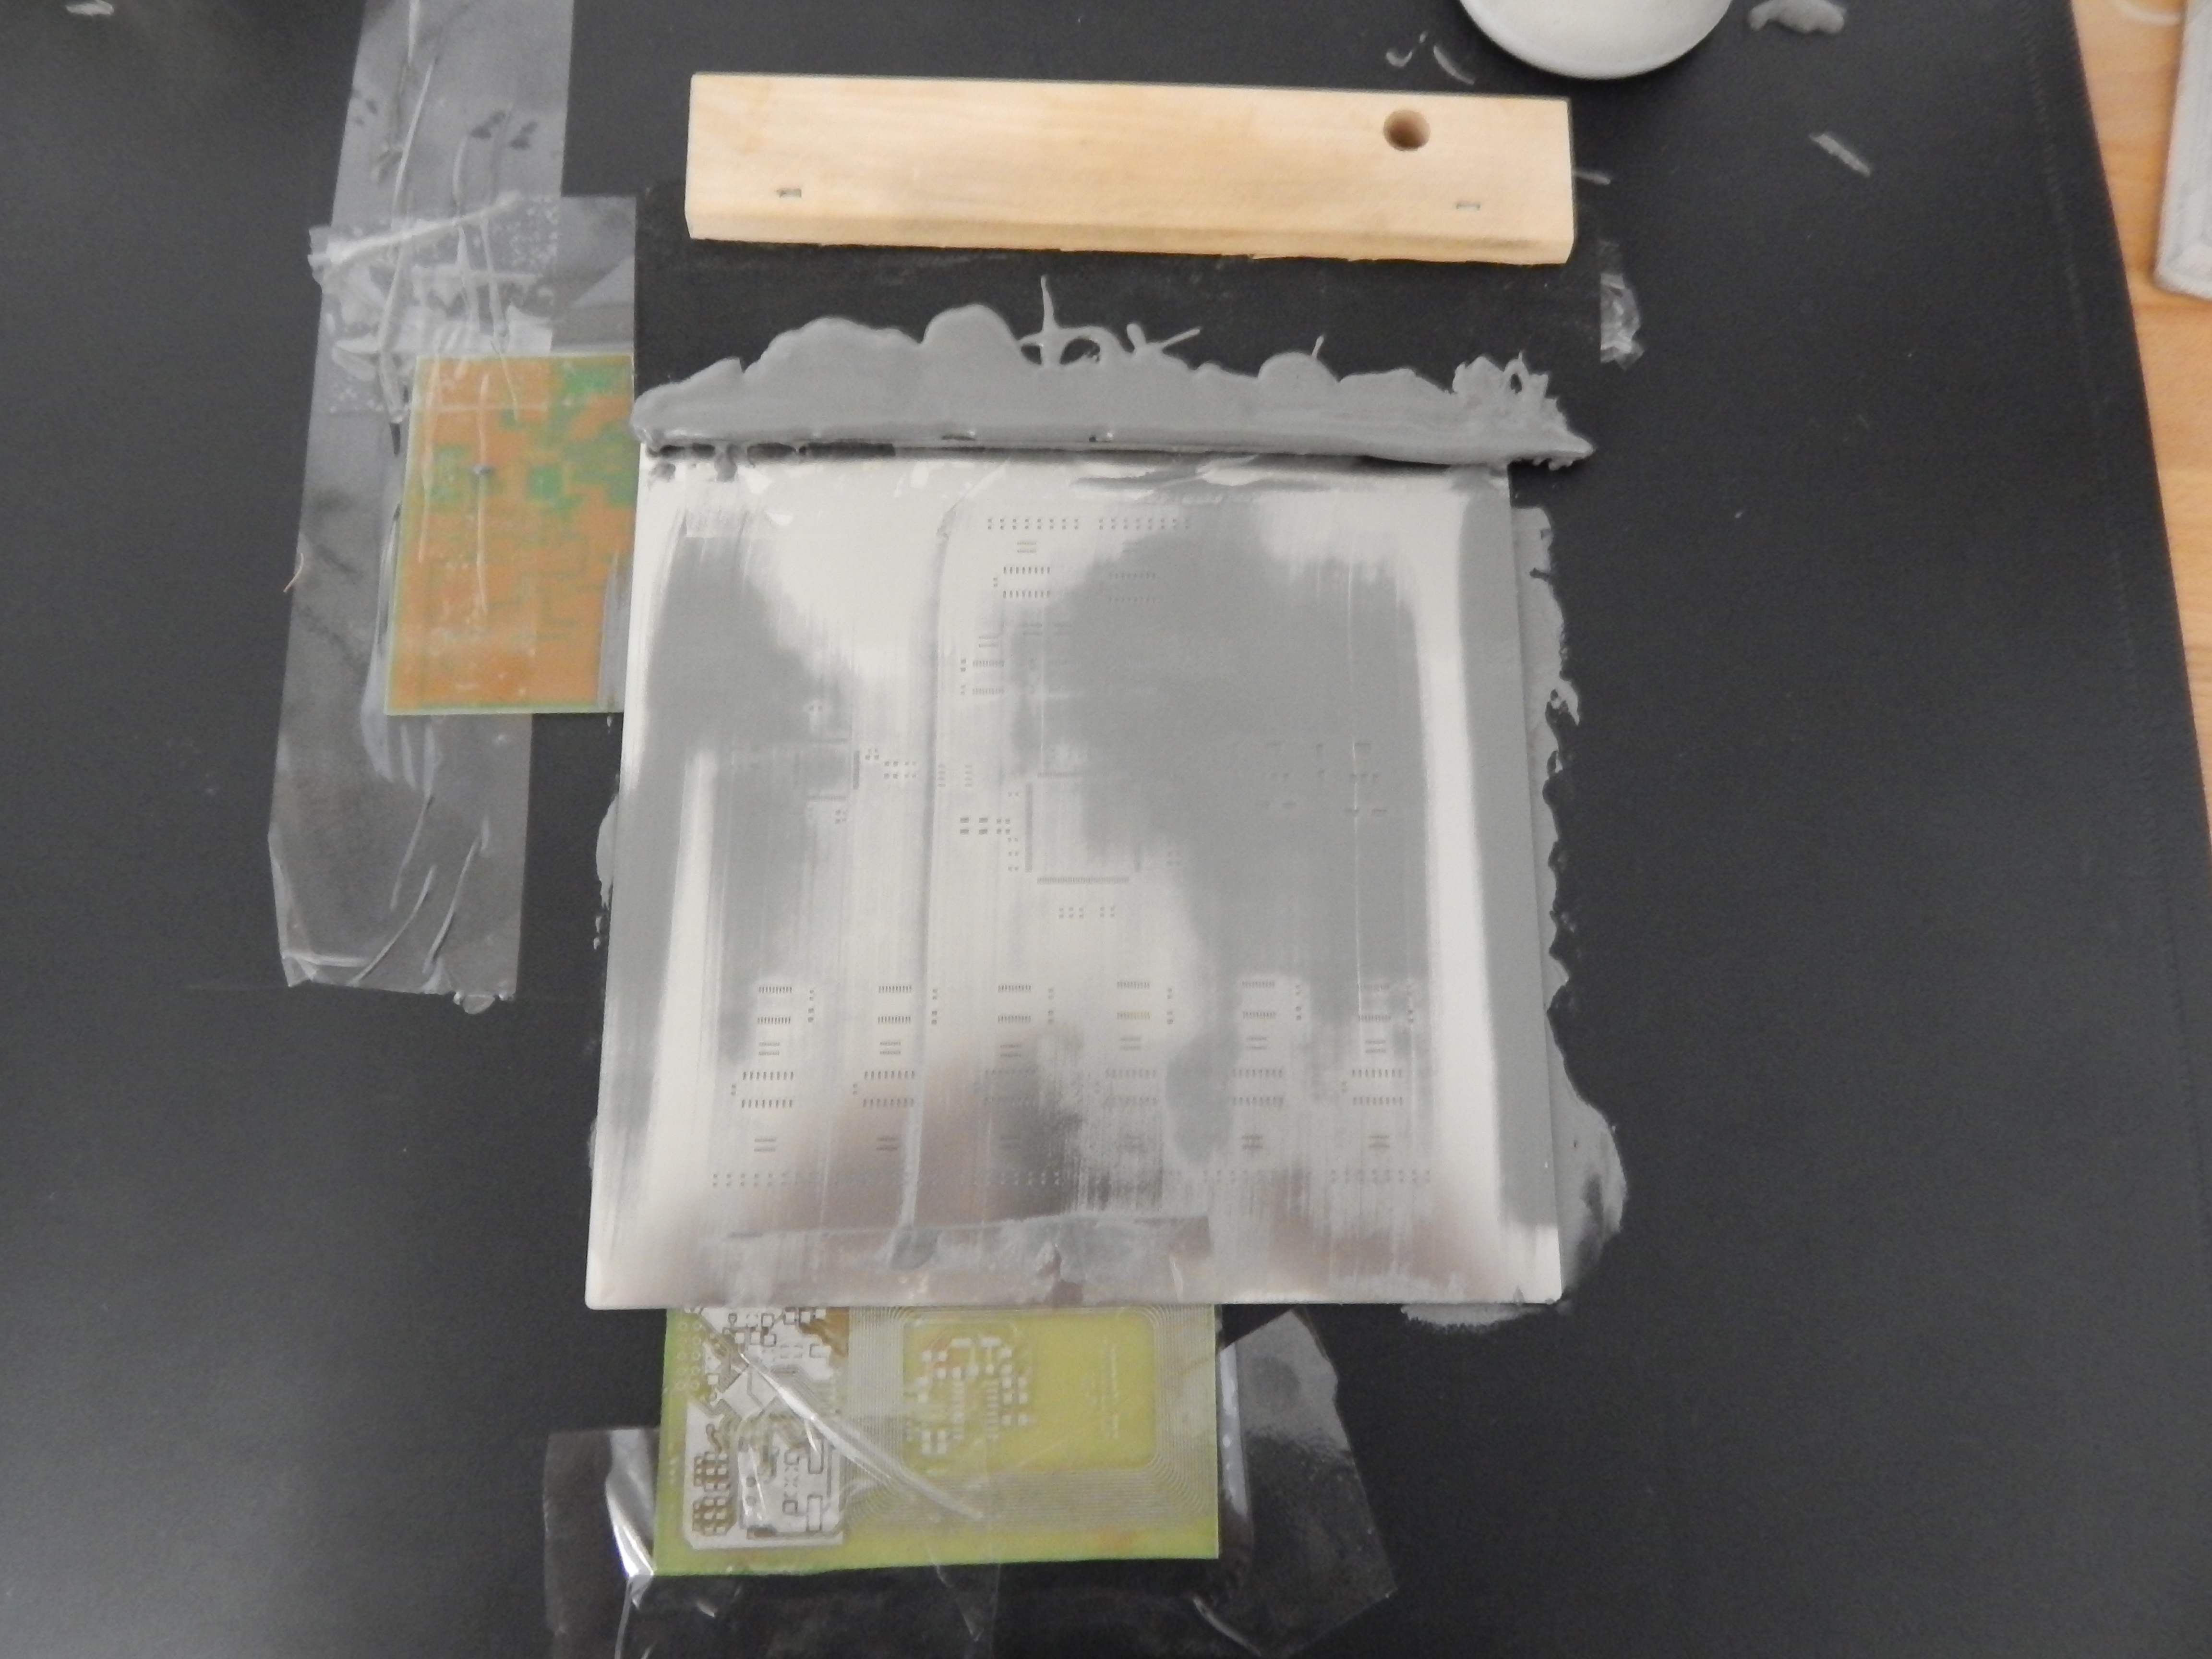
  • Air compressors (for the pick an place and for solder past)
  • In short, common tools you need in a decent lab


PCB Board for Prototype just arrived

Thanks to PCB Beta Layout, we received the stencil very quickly

Harsploit Stencil

And of course the PCB

Hardsploit PCB

Go to Pick and place Machine to create the First Hardsploit prototype 😉 Exciting !


Autorouting rocks !

After the placement of main components on the board, the Eagle automatic router module get the job done ! It was very efficient to find around 90 % of all routes that are necessary to connect all our component … automatically. Obviously, automation is not everything and we like to think that if the process was a success it was also because of the smart initial placement 😉 +1 for human brain

Autorouter


A little video to see how it works


Hardsploit PCB Routing in progress

You like wires ?

Routing mor than 64 leds, one TQFP FGPA integrated circuit and one microcontroller (STM) on a double face PCB is a challenging task ! Trust us ! Not surprising that finding a way to create all the interconnection on a PCB is a complete job.

HArdsploitPCBRounting

Electronic Schematic designed done !

We have finished the electronic schema. Main issue was to find the best and cost effective central component suitable for our goal (The FPGA component). We choose a Cyclone II from Altera. The use of 64 leds was also an issue to take care of !

Hardsploit Schematic


Top